fbpx

recipe developer . podcast co-host . cookbook author . photographer . mental health warrior . online educator


food . travel . life

keto . low carb


gluten-free . grain-free . sugar-free

drama-free . dogma-free . mean-free

Keto Cookbooks

Archives

Trending!

Keto and Low Carb Thickeners
Liposomal Vitamin C (+ VIDEO!)
Leek, Mushroom, and Cauliflower Casserole
Dark Chocolate Chili Mole
Recipe Index: Find the recipe you need here
The Joys of Splenda.  Or not.
Montana Hash
Chicken and Cabbage Carbonara
Celery and Cucumber Salad with Herbs
How To Cook A Pork Chop

Copyright © Carrie Brown 2010-2020, unless otherwise stated. All rights reserved.

The Fatty Joe Show : Jimmy Moore

Return to The Fatty Joe Show Episode Index


Yogi sits down to have a chat with Jimmy Moore, prolific author and podcaster, to talk about keto, carnivore, and the nutrition world in general.

Jimmy was the author of the very first ketogenic lifestyle book (Keto Clarity) that Yogi read before going keto himself.  This and other books by Jimmy helped Yogi build the nutritional foundation that led to over 300lbs in weight loss, making Jimmy a definite “early Influencer” on Yogi’s path to improved health.

In this episode Jimmy and Yogi talk about beginnings, and how to get started on a path to improved health.  We also discuss some of the problems that are creating issues within the various nutrition-based lifestyles and communities.

Jimmy’s links:
livinlavidalowcarb.com
https://www.patreon.com/jimmymoore
Instagram & Twitter: @livinlowcarbman
The Keto Clarity Cookbook: https://amzn.to/2ZgycwK
Keto Clarity: https://amzn.to/3jYFOfj
Cholesterol Clarity: https://amzn.to/2DG0OIl
The Keto Cure: https://amzn.to/2FheQk9
The Complete Guide to Fasting: https://amzn.to/3hc9fZo
Real Food Keto: https://amzn.to/2Zg5MDi

Be sure to rate, subscribe and leave a comment!

To support the show and gain access to private groups, rewards, swag, and become a Kitchen or Fatty Joe Show Rockstar, use these links: http://www.patreon.com/thefattyjoeshow or http://www.patreon.com/carriebrown

Check out our website at http://www.thefattyjoeshow.com

If you want to sport some Fatty Joe Show swag like t-shirts coffee mugs and other cool items, go to: https://www.zazzle.com/collections/the_fatty_joe_show-119044829655147361?rf=238386382098264295

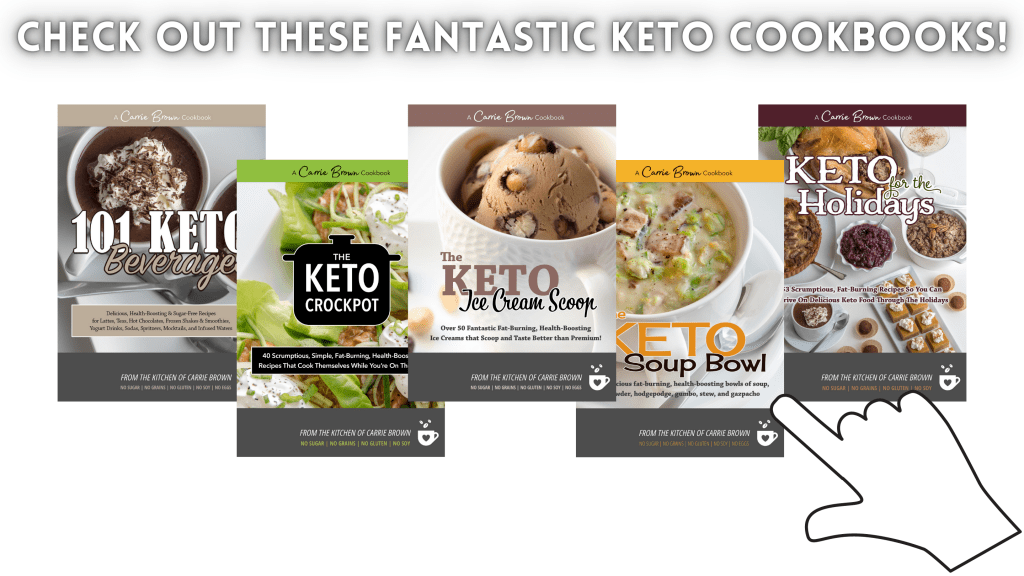
For recipes, articles, product discounts, Cookbooks, and Cooking Masterclasses go to: https://carriebrown.com

Carrie Brown Masterclasses:? https://carriebrown.com/keto-cooking-masterclasses

Cookbooks by Carrie Brown:? https://carriebrown.com/cookbooks-carrie-brown-keto-lchf-lowcarb

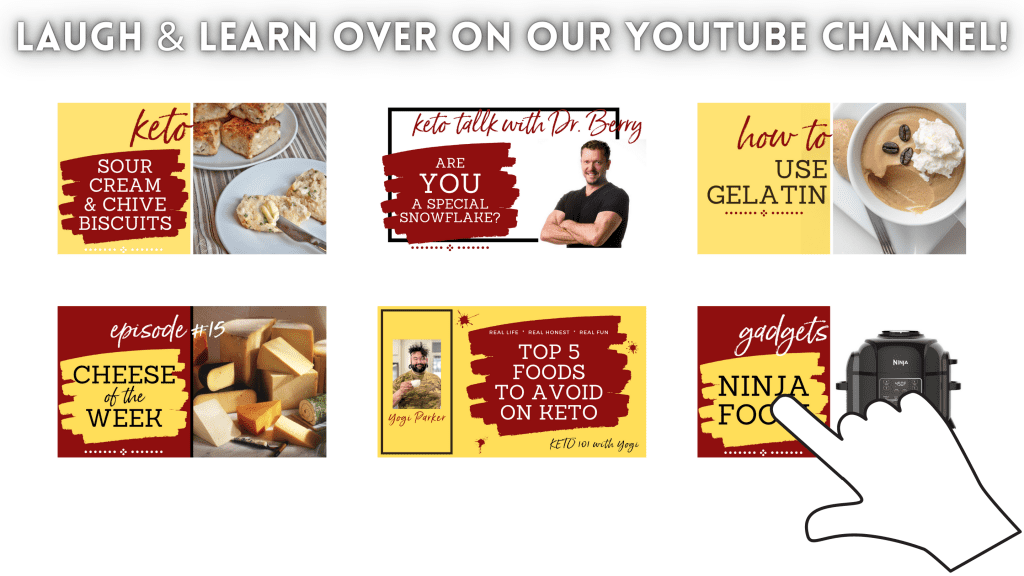
For our YouTube Channel with cooking videos, Vidcast episodes, Keto 101, product reviews, and more go to: https://www.youtube.com/c/TheRealCarrieBrown

Facebook page: Carrie Brown and Yogi Parker

Members Group: The Keto Kitchen with Carrie Brown and Yogi Parker

Instagram: @thefattyjoeshow, @therealcarriebrown, @therealyogiparker

0 comments
Add a comment...

Your email is never published or shared. Required fields are marked *

    Raspberry White Chocolate Custard Pops

    These delicious little Raspberry White Chocolate Custard Pops are the perfect end to a meal when you just need a little low-carb sumpin-sumpin to finish it off. A lot of folks on keto would refer to these as Fat Bombs, and while I am not an advocate of downing large amounts of fat bombs – and especially not as a snack – when used as a little dessert at the end of a meal they can really help in all sorts of ways.

    Raspberry White Chocolate Custard Pops | Carrie Brown

    If you need more fat than you’ve consumed so far in your day these can easily take care of that; and scaling up is as easy as adding a second or third one until you’ve met your macros. This is why I suggest making them small – it’s much easier to scale up with an extra one than to make large ones and overeat.

    If you find that you don’t feel like a meal is over unless it ends on a sweet note, but don’t want or need anything substantial then these little bites are perfect. And if you are missing eating raspberries and / or love white chocolate then these will make you feel ‘normal’ again – but without the guilt and the health impacts that regular sweets typically bring.

    As you can see from the recipe, once the custard is made they are stir-and-pour simple and easy to make, and the most complicated part is waiting for them to freeze! And rest assured, if you haven’t made the amazing Almond Custard yet – that is super-easy too (there’s a video as well!).

    These Raspberry White Chocolate Custard Pops are an excellent way to use up any leftover custard – or just make extra custard than you need for one recipe and for a few minutes of extra effort you can have two desserts ready instead of one.

    As an extra bonus these gorgeous little Raspberry White Chocolate Custard Pops are more than pretty enough to serve at a fancy dinner party, so not only will you wow your guest’s taste buds with your cooking skills but you will wow them with presentation, too. These delightful little cups of white chocolate goodness are a win-win-win and I think you should make some this week.


    Raspberry White Chocolate Custard Pops

    Author: Carrie Brown| Prep time:  10 mins   |   Cook time:  0  |   Total time: 10 mins + freezing time |  Serves: 16

    What You Need

    • 2 cups / 1 pint Almond Custard (click for recipe) [There’s a video!]
    • 4 oz. / 110g cocoa butter, finely chopped
    • 1 oz. / 30g butter
    • 1 TBSP almond extract
    • 1 tsp. lemon juice
    • 1 oz. / 30g allulose
    • Pinch sea salt (For the best salt and a 15% discount use code: carriebrown)
    • 6 oz. / 170g fresh raspberries

    What You Do

    1. Place the Almond Custard, chopped cocoa butter, butter, almond extract, lemon juice, allulose, and sea salt in a pan and warm gently, stirring constantly until all the ingredients are completely melted, mixed, and smooth.
    2. Place your silicone mold (this is the one I used) onto a cookie sheet or flat tray, and drop a whole raspberry into each cavity.
    3. Carefully pour the custard into a jug with a pourable spout, and carefully pour the custard over the raspberries until each mold is almost full. The raspberry might pop up a little.
    4. Carefully, and carrying the tray evenly, transfer the pops to the freezer and leave to freeze for at least 2 hours.

    Top Recipe Tips

    • These are pretty melty at room temperature, so need to be stored in the freezer and enjoyed cold.
    • Once fully frozen you can quickly remove them from the silicone mold and store them in layers with parchment paper between them in an airtight container.

    Helpful Cooking and Recipe Links

    Podcast Episodes and YouTube Videos


    Raspberry White Chocolate Custard Pops | Carrie Brown


    Keto YouTube Channel | Carrie Brown
    The BEST Keto Cookbooks | Carrie Brown


    THANK YOU FOR YOUR SUPPORT! YOU MAKE ALL THINGS POSSIBLE.

    There *may* be an affiliate link or two in this post and I *may* receive a small commission from qualifying purchases in order to provide free content for you. As an Amazon Associate I earn from qualifying purchases.

    0 comments
    Add a comment...

    Your email is never published or shared. Required fields are marked *

      Crispy Oven Baked Pork Belly (+ VIDEO!)

      Oh, Pork Belly! So overrated on the Standard American Diet and so revered on keto. Pork Belly has become the quintessential keto go-to for protein:fat nirvana. On top of that it’s super-simple and easy to make and stupidly tasty. What more could you want from your keto food?! In this post I show you how to make the perfect Crispy Oven Baked Pork Belly.

      Crispy Oven Baked Pork Belly | Yogi Parker
      Crispy Oven Baked Pork Belly | Yogi Parker

      This is a very simple and easy recipe to produce a great tasting pork belly that has a crispy top with buttery tender meat on the bottom. It is a great recipe for preparing dishes that use pork belly, and yes, we have several of those coming your way soon!

      And to show you just how easy fantastic Pork Belly really is to make at home, I made you a video. You’re welcome.


      Grab yourself a hunk of pork belly next time you’re at the grocery store – or Costco has great pork belly for a great price – watch the video and then follow the instructions below. In a little over an hour you will be enjoying a plate of completely delicious fatty meat.


      Crispy Oven Baked Pork Belly

      Author: Yogi Parker| Prep time:  10 mins   |   Cook time:  50 – 60 mins  |   Total time: 1 hour 10 mins

      What You Need

      • 2 1/2 lbs. / 1120g raw pork belly cut into a rectangle or square shape
      • Sea salt (For the best salt and a 15% discount use code: carriebrown)
      • Ground black pepper
      • Heavy duty aluminum foil
      • Baking tray 
      • Wire rack
      • Water
      • Avocado oil

      What You Do

      1. Preheat oven to 400F.
      2. Lay out the pork belly skin side up.  With a sharp knife score the top of the meat.  Cut through the fat and skin just to the meat at an angle, starting at one corner.  Make each score line about 1 inch apart all the way across the meat, then do the same thing going the opposite direction so that when you look at the meat straight on, there will be a diamond pattern to the scoring.
      3. Flip the meat over and score this side too, except in a grid pattern.  You will cut the into the meat just until you reach the fat.  Make the scores horizontally and vertically so that you have a grid pattern of one inch squares.
      4. Season the cavity liberally between the squares with sea salt and ground black pepper.
      5. Tear off a piece of aluminum foil that is large enough to fold in half and have about a two inch border when your pork belly is placed on it.  After folding the aluminum foil in half, add a tablespoon of olive oil to the foil and use a brush or paper towel to spread the olive oil out into a thin layer on the side you will place the meat on to prevent sticking.  Use more if you need to.
      6. Place the pork belly meat side down and fold the edges of the aluminum foil up to cover all the sides of the pork belly, leaving the top fatty side exposed.
      7. Crimp the corners of the foil and place the aluminum foil wrapped pork belly on the baking rack inside the baking tray foil side down.  Pour enough water in the baking tray to cover the bottom of the tray.  Carefully place in the oven and bake for 30 to 40 minutes.  Time may vary depending on how thick the pork belly is. Thicker cuts may take longer.
      8. Remove the tray with the pork belly from the oven and carefully lift the pork belly off the tray onto a heat safe surface.
      9. Set the oven to broil (grill).
      10. Drain the water off the tray, take the pork belly out of the foil and place the pork belly meat side down on the tray.  When the oven reaches temp, place the tray with the pork belly back into the oven.
      11. Broil for 10 to 15 minutes, or until the top of the pork belly becomes golden brown and crispy.
      12. Remove the pork belly from the oven, allow it to rest for about five minutes, then cut into bite size pieces and enjoy!

      Top Recipe Tips

      • You can substitute the sea salt and ground black pepper for a seasoned salt blend if you like, but be careful that the seasoning doesn’t have any sugars.  Not only will the sugars not be keto, but they will also make your pork belly burn.   And nobody really likes burnt Pork Belly. Even those people who say they do.
      • I like the Redmond Real Salt Seasoning Blends and you can get a 15% discount on all your orders by CLICKING HERE and using code: carriebrown

      Helpful Cooking and Recipe Links


      Podcast Episodes and You Tube Videos

      Crispy Oven Baked Pork Belly | Yogi Parker


      Keto YouTube Channel | Carrie Brown
      The BEST Keto Cookbooks | Carrie Brown


      THANK YOU FOR YOUR SUPPORT! YOU MAKE ALL THINGS POSSIBLE.

      There *may* be an affiliate link or two in this post and I *may* receive a small commission from qualifying purchases in order to provide free content for you. As an Amazon Associate I earn from qualifying purchases.

      5 comments
      Add a comment...

      Your email is never published or shared. Required fields are marked *

      • BeckyDelicious! Love you kept it simple to start. You can see and hear the crunch, get in my belly! 

        Any guidance on cleaning wire racks? They work so well, but I find myself avoiding cooking/baking approaches with them because I struggle cleaning them.ReplyCancel

      • Becky CaudillDelicious! Love you kept it simple to start. You can see and hear the crunch, get in my belly! 

        Any guidance on cleaning wire racks? They work so well, but I find myself avoiding cooking/baking approaches with them because I struggle cleaning them.ReplyCancel

      • ? How to make the best Pork Belly Burnt Ends in an oven! #Keto #LowCarb #PorkBelly - paprikaspice.page[…] never tasted so amazing! ? Get the recipe here: ?Oven Baked Crispy Pork Belly recipe here: https://carriebrown.com/archives/38037 ?Trucker’s Eggs Tangine with Bacon and Pork Belly recipe here: […]ReplyCancel

      • William GinwrightHow to order Raw Pork Belly Skin with some fat attached (1/4 to 1/8 “)ReplyCancel