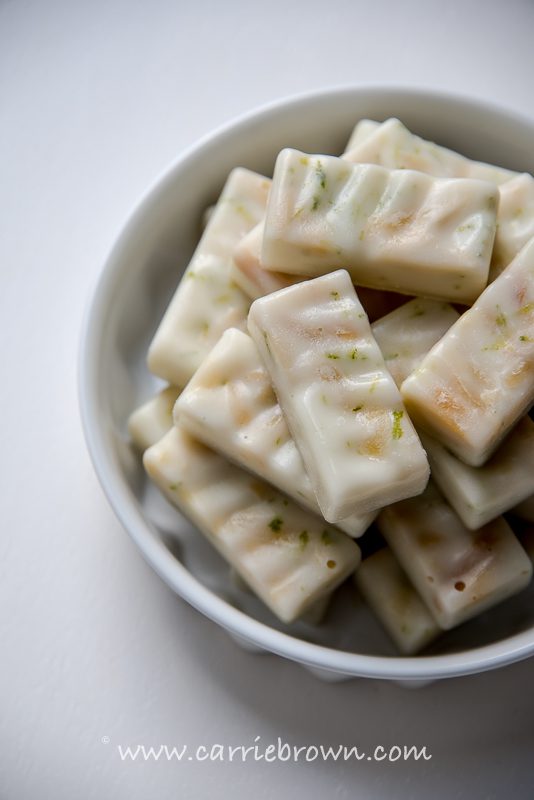
I made you some little bites of awesome – Coconut Lime Jellies. Some people might look at the ingredients and call them fat bombs, and while it’s true that they are crammed with healthy fats, they are very different from your typical fat bombs. They don’t need to be frozen, they don’t melt the instant you look at them, and they aren’t greasy. Instead, they are light and refreshing and come with surprising crunchy bits hidden in the middle.
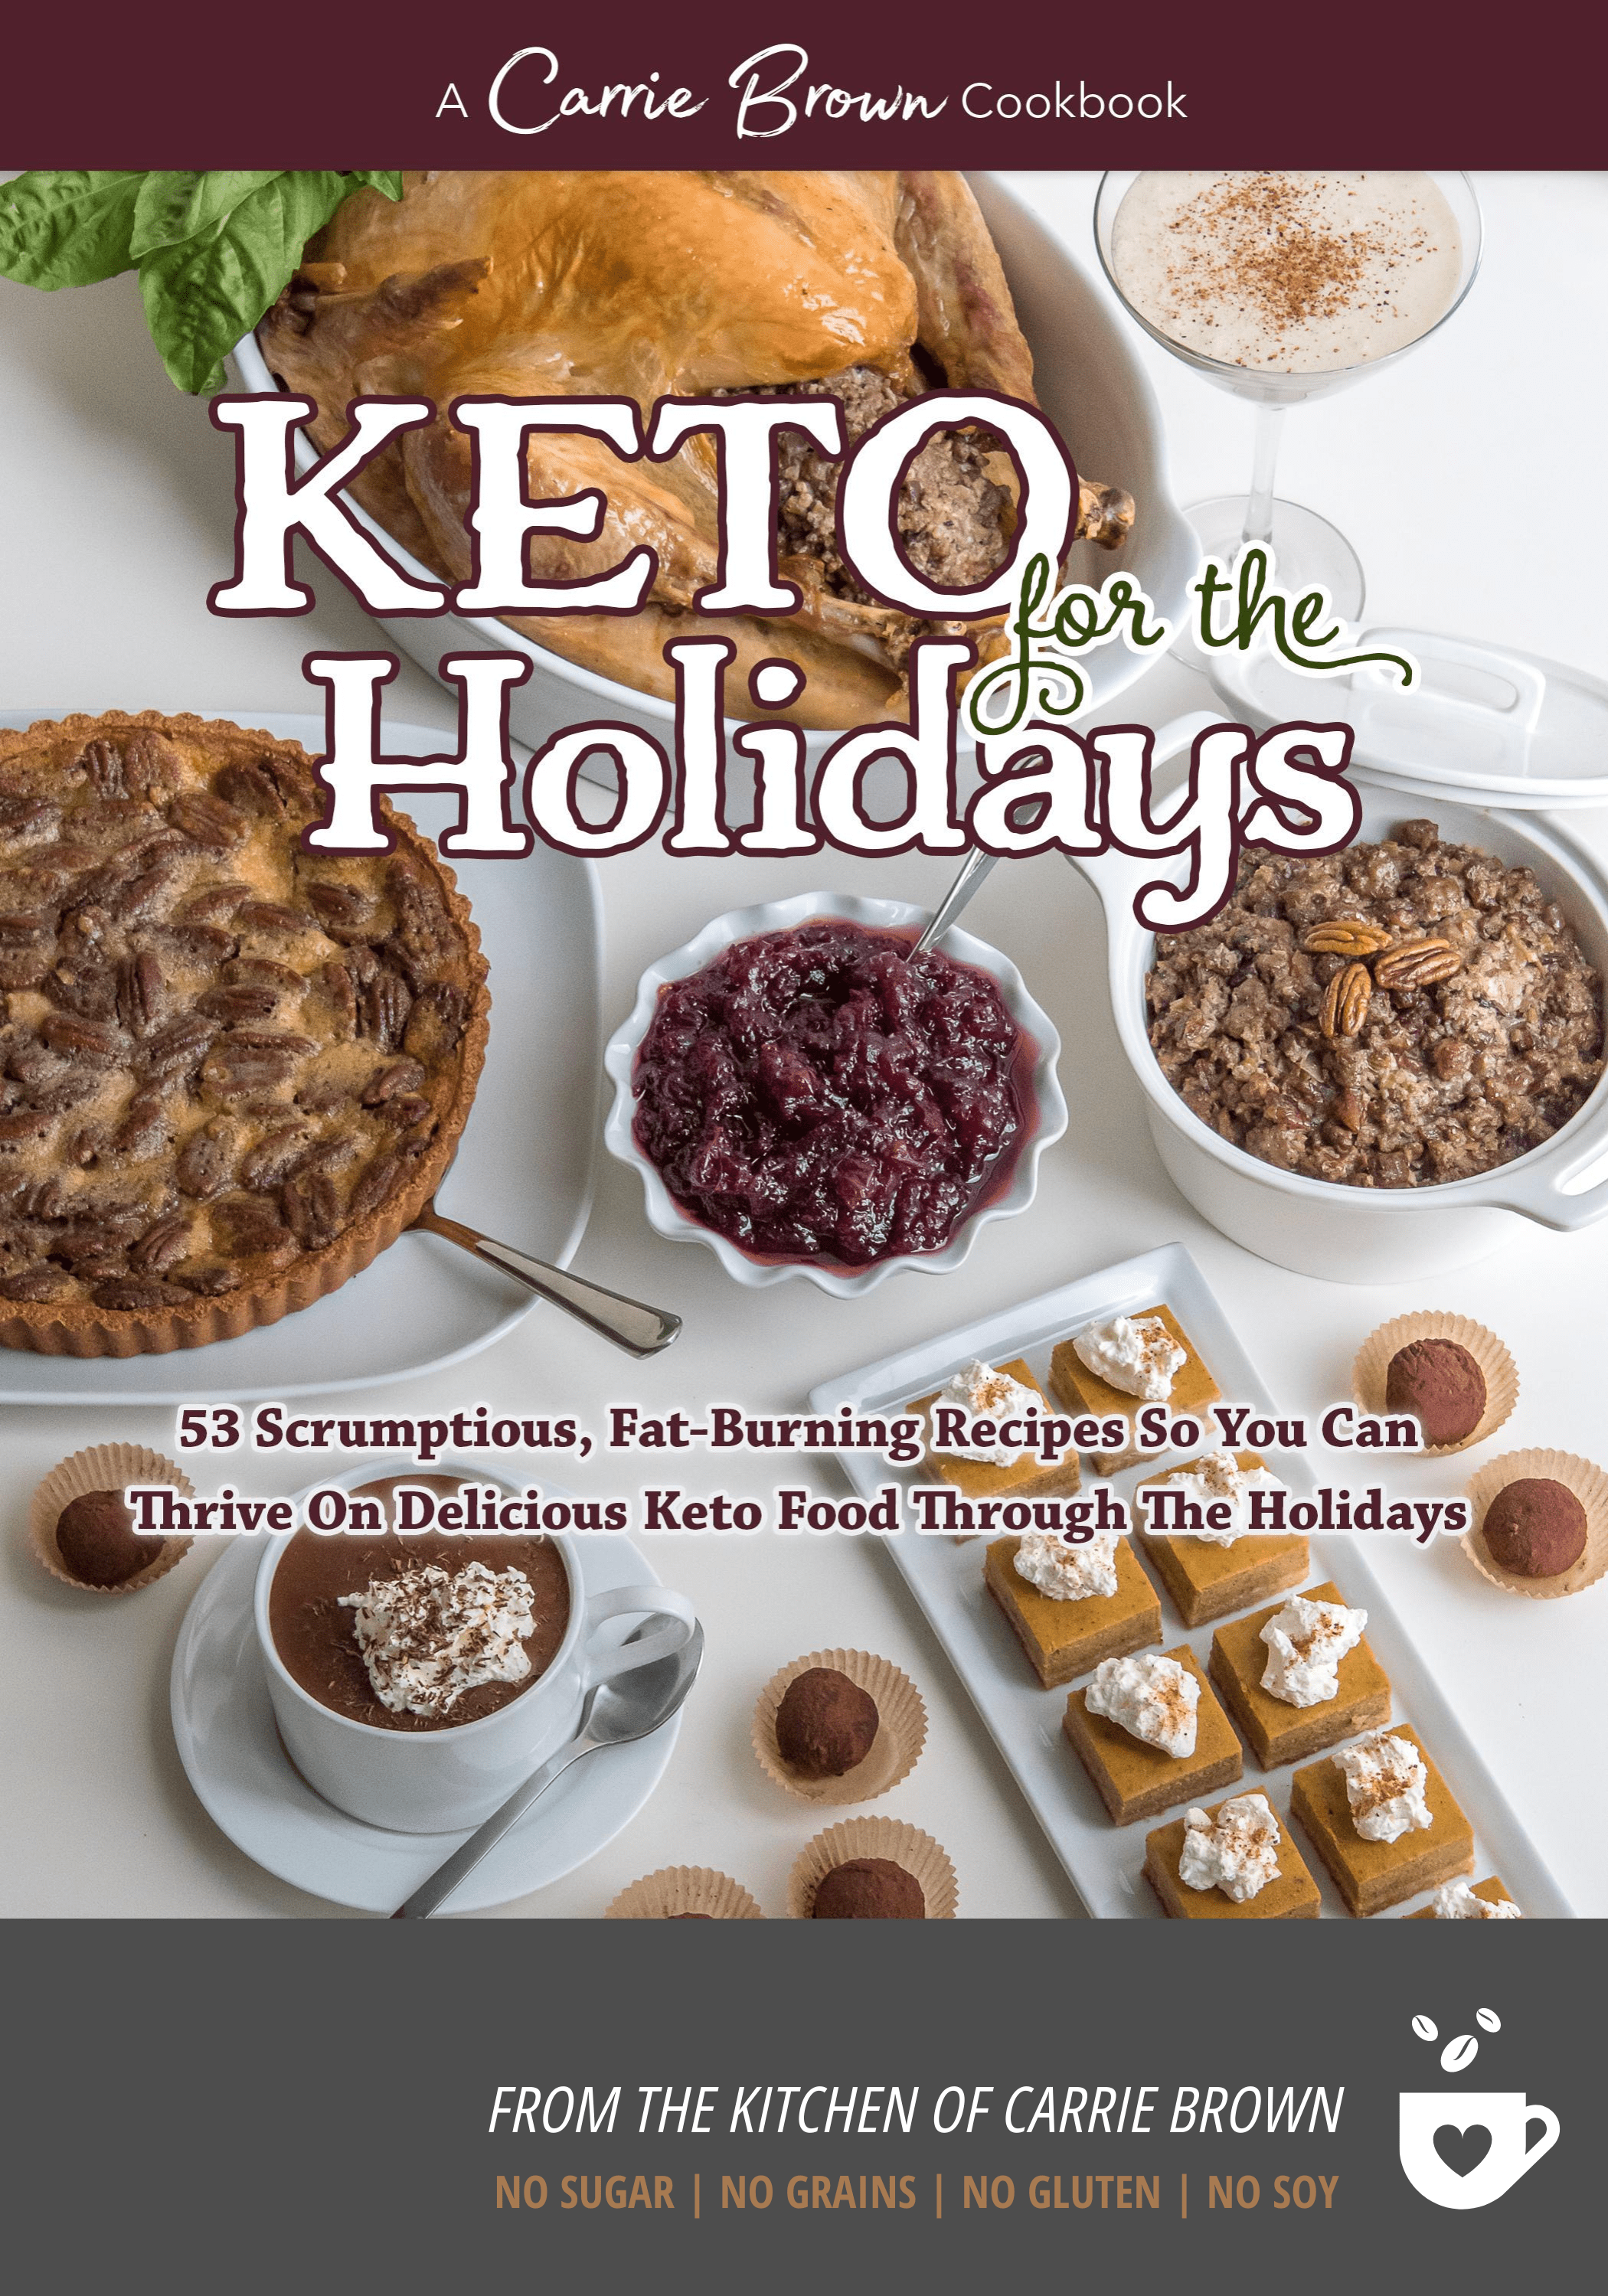
I served these Coconut Lime Jellies up at a recent MiniFest at 2 Keto Dude Carl Franklin’s house, along with 3 other 2-bite desserts – Vanilla Cranberry Shortbread, Apricot Cardamom Cupcakes, and Chocolate Truffles – the recipe for which is in Keto For The Holidays.
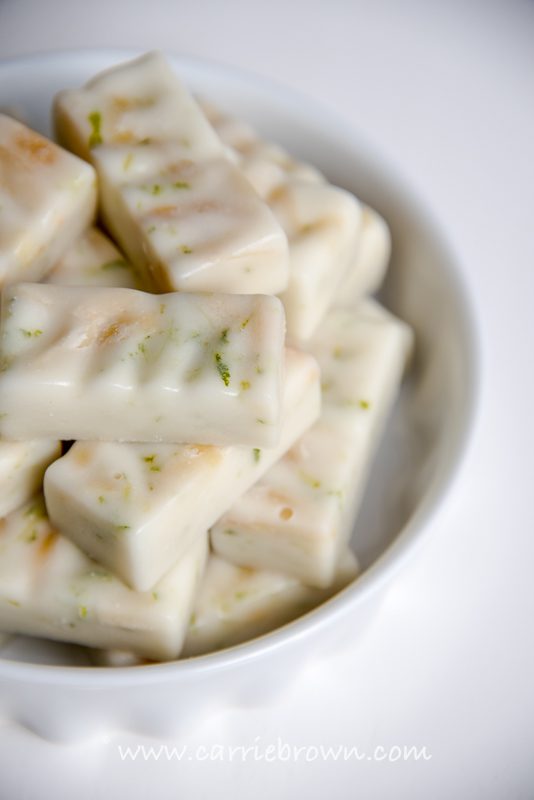
All four desserts were huge hits so I thought I’d share the recipe with you here. These Coconut Lime Jellies are sturdy enough to hold in your fingers, but could easily be made in small dishes and eaten with a spoon.
I taste-tested these on a 4-year-old before taking them to the Minifest and he absolutely loved them. Bear in mind that his parents are bringing him up in a whole foods keto-paleo household, so his palate is not used to the sickly-sweet candy and desserts of a Standard American Diet. This little guy was thrilled with his treats. These Coconut Lime Jellies are a great tool to help kids not feel excluded and also teach them that you can make terrific candy-like treats from real whole foods.
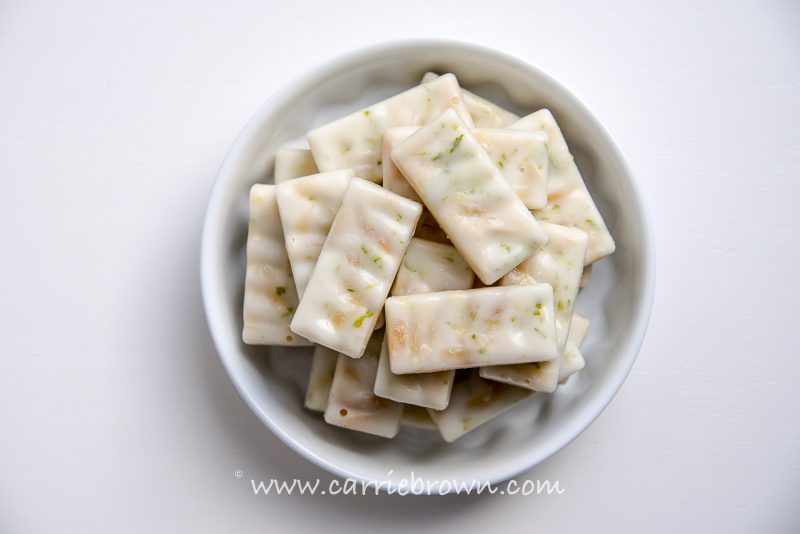
Having said that these glorious little nuggets are brilliant for children I should point out that there were no minors at the MiniFest and there was also nary any Coconut Lime Jellies left 10 minutes after the platter was placed on the table. You can conclude that adults love them, too.
They are bright, fresh, and tasty jellies that you can use as dessert at the end of a meal when you need a little extra fat, or when you just want a little something to finish things off.
Coconut Lime Jellies
Author: Carrie Brown | Prep time: 10 mins | Chill time: 2 hours | Total time: 2 hours 10 mins | Serves: 20 (depending on size of your molds)
What You Need
- 1½ cups / 12 fl oz. thick coconut milk (canned) or coconut cream
- 3 TBSP gelatin (use this for vegetarians and vegans)
- ¼ cup / 2 fl oz. coconut oil
- 3 TBSP allulose OR 2 TBSP xylitol or erythritol
- 3 tsp. vanilla extract
- 2 limes – juice and zest
- 2 oz. / 55g almonds, blanched, chopped, and toasted
What You Do
- Place the coconut milk in a small bowl and sprinkle the gelatin evenly over the surface. Leave to soften for 5 minutes.
- Put the coconut oil, allulose OR xylitol OR erythritol, and vanilla extract in a small pan and warm over a low heat until completely melted and combined.
- Add the coconut milk and softened gelatin to the oil mixture in the pan and stir until the gelatin is melted.
- Remove from the heat, add the juice and zest from the limes and stir well. Pour into a small jug that pours cleanly.
- Distribute the toasted almond pieces evenly between the silicone molds, paper cases, or ice cube trays.
- Carefully pour the coconut mixture over the almonds, swirling the jug between each pouring so that the lime zest does not all settle to the bottom of the jug.
- Place in the ‘fridge for at least 2 hours until completely firm.
Top Recipe Tips
- Shake the can of coconut milk very well before opening. If if dies not sound like there is liquid inside, stand the unopened can in a bowl of hot water for 10 minutes and then shake very well before opening and using.
- Don’t worry if the gelatin / coconut milk mixture is lumpy, clumpy, or otherwise really weird looking. When you add it to the oil mixture, warm and stir, it will be fine.
- Toasting the almonds makes a significant difference to the crunchiness and flavor of these jellies. How to toast nuts.
- How many pieces you get out of a batch depends on the size of your mold or ice cube tray. The smaller the molds, the better. It is better to eat two smaller jellies if you need them rather than eating a larger one that you find is too much.
- If you fill your molds when the mixture is still very warm you may find that when they are set there are two distinct layers – an opaque white fatty layer of coconut at the bottom and a clearer, paler later at the top. This is normal. I did some this way and folks commented on how they liked the differing textures. If you want to avoid this, however, once the mixture is off the heat, leave it to cool stirring often until just before it starts to thicken. Stir well and then pour into the molds.
- Check out the Ingredients Guide for information on ingredients.
- Where Are The Macros and Nutritional Info?
Helpful Cooking and Recipe Links
- More dessert recipes
- Come laugh and learn with us over at The Kitchen Podcast
- Come hang out in The Keto Kitchen Facebook Group
- For lots more great recipes check out our scrumptious cookbooks!
- Check out the categories and tags at the bottom of the post to help you find more recipes using certain ingredients or from certain categories.
Podcast Episodes and You Tube Videos
- How and Why to Measure Food
- Where Are The Macros and Nutritional Info?
- Keto / Low Carb Treats: should you eat them? Hear what Dr. Ken Berry and I have to say about it!
Substitutions
- Don’t. Just buy the correct ingredients and you, too, shall have a fabulous outcome!
- Xylitol or allulose or erythritol are the sweeteners I recommend because they work very well. You can use any other sweetener you like, but I cannot guarantee the results if you choose to use something different. In low carb and keto baking sweeteners are generally not interchangeable if you want great results.
- You can use lemon zest and juice in place of lime if you prefer or that’s what you have on hand, but the flavor will obviously be quite different. I recommend going with lime for the best flavor.
