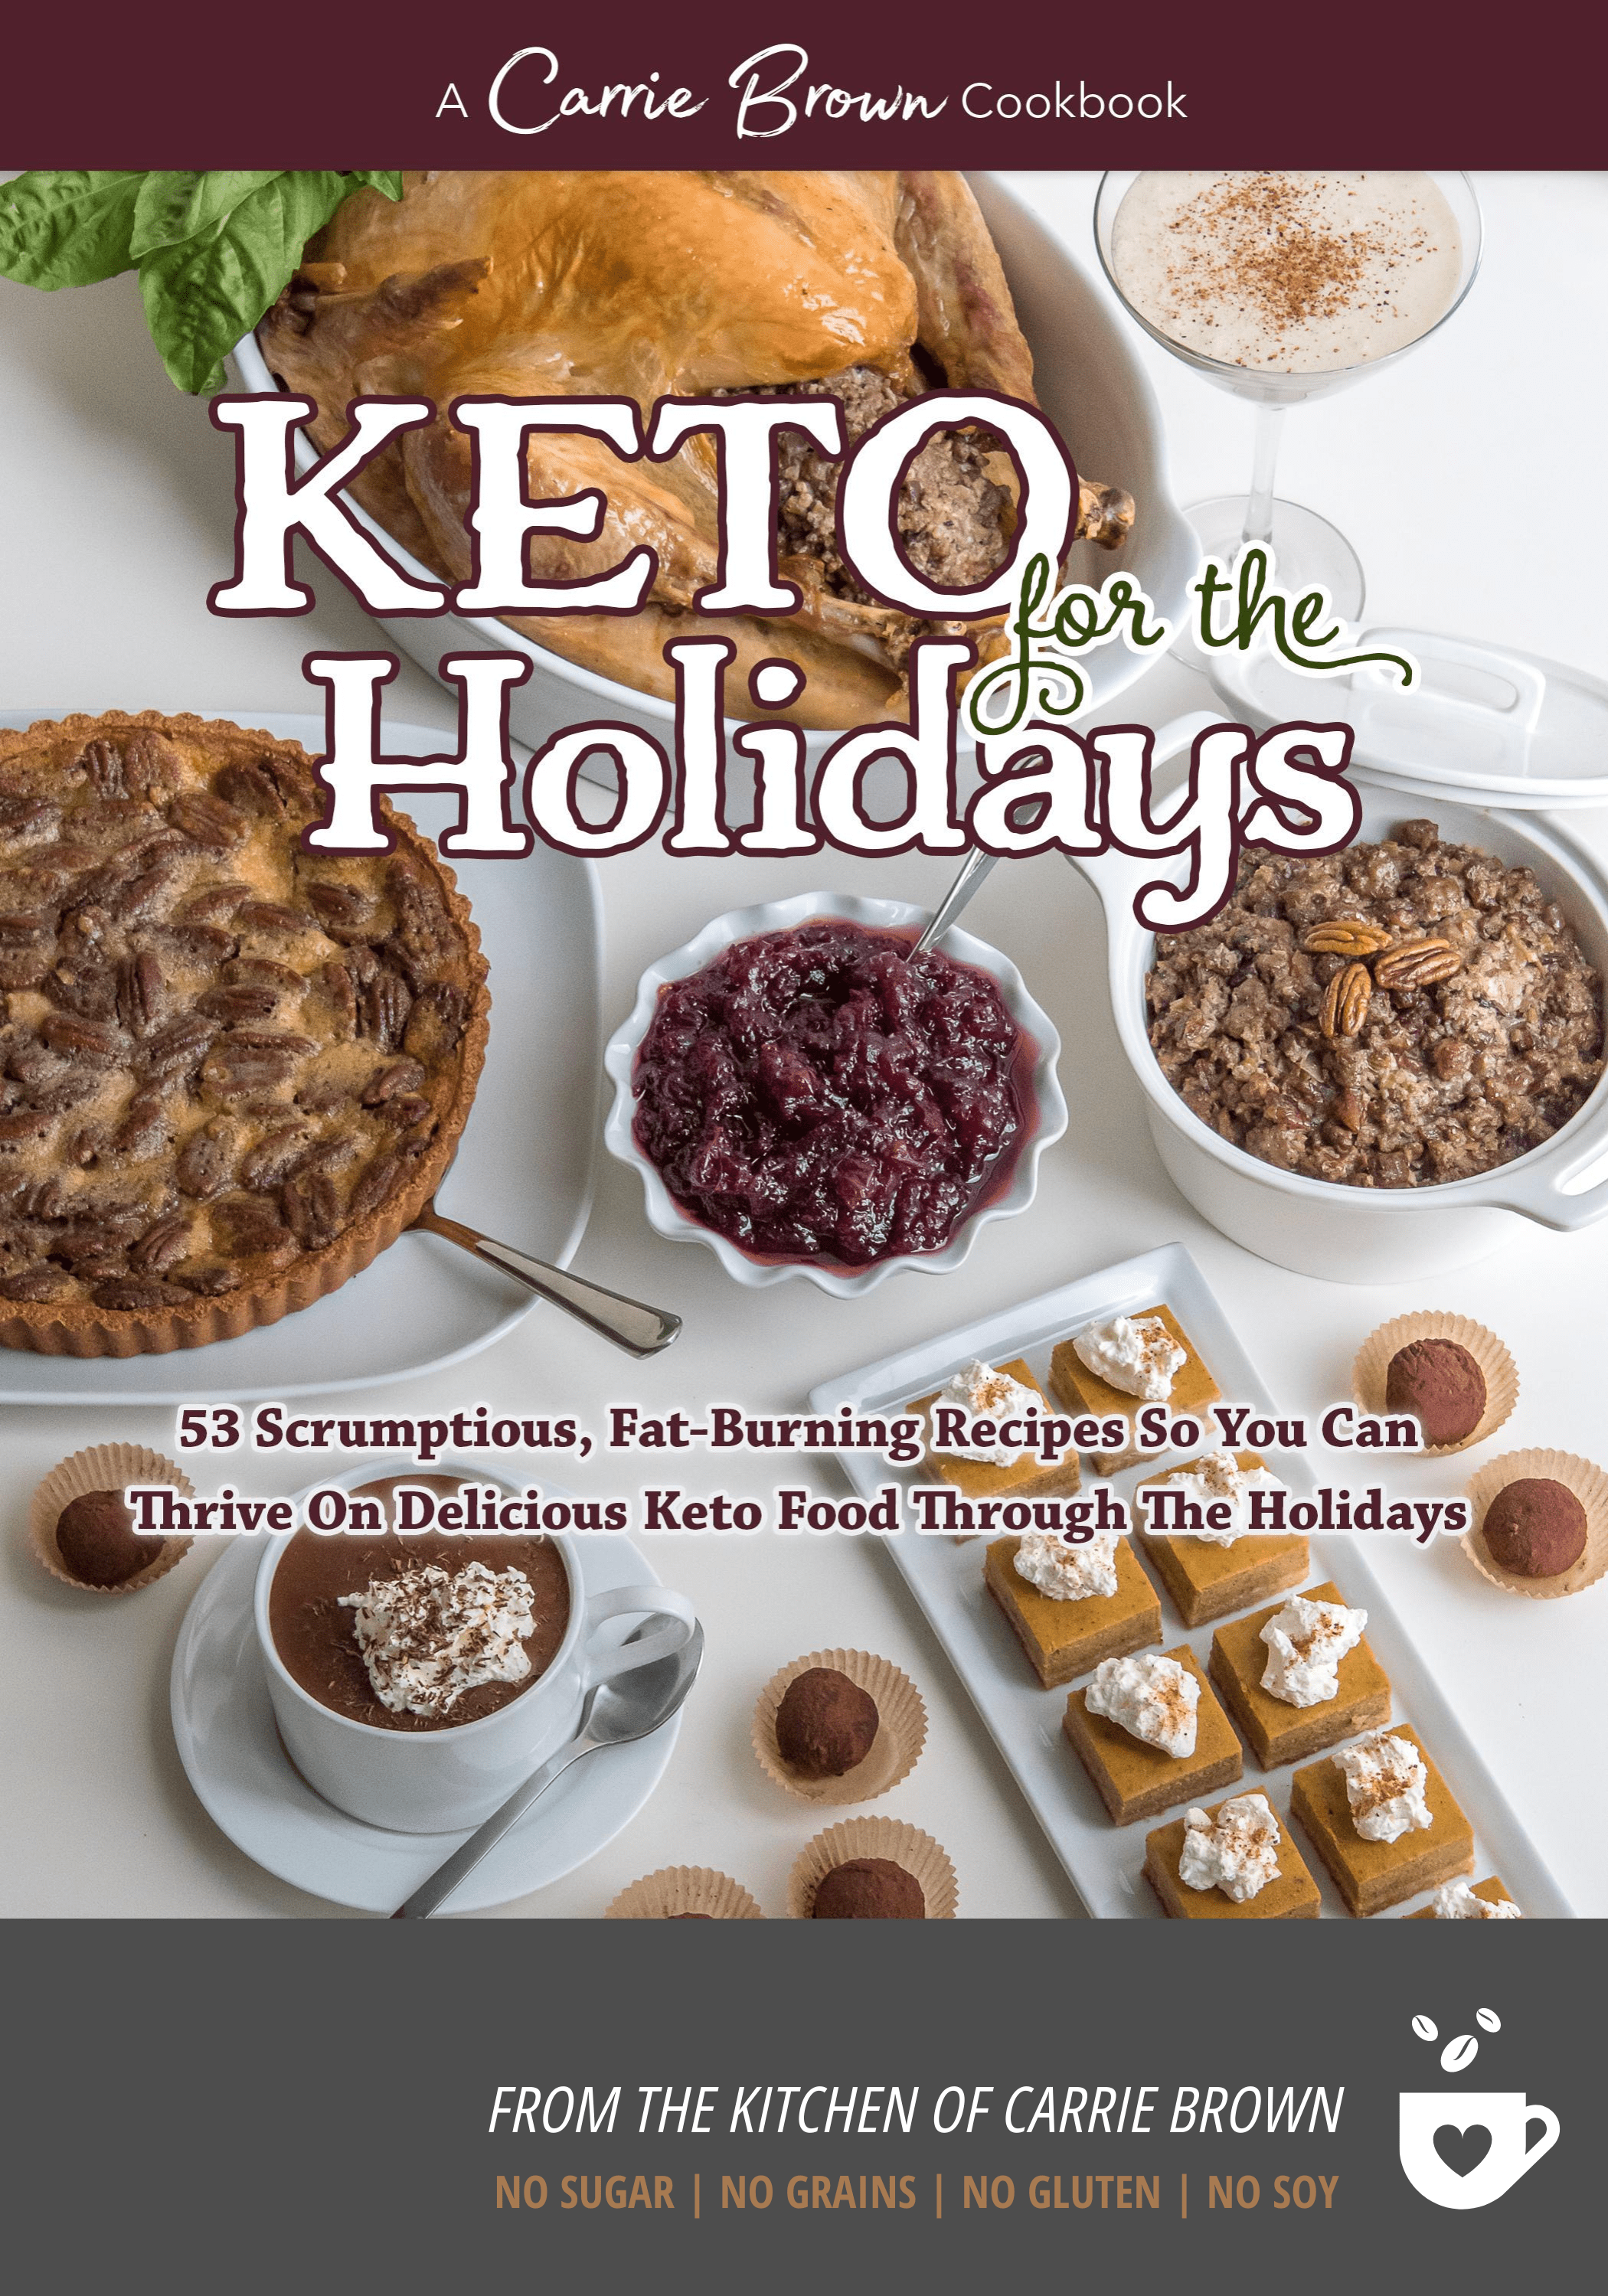
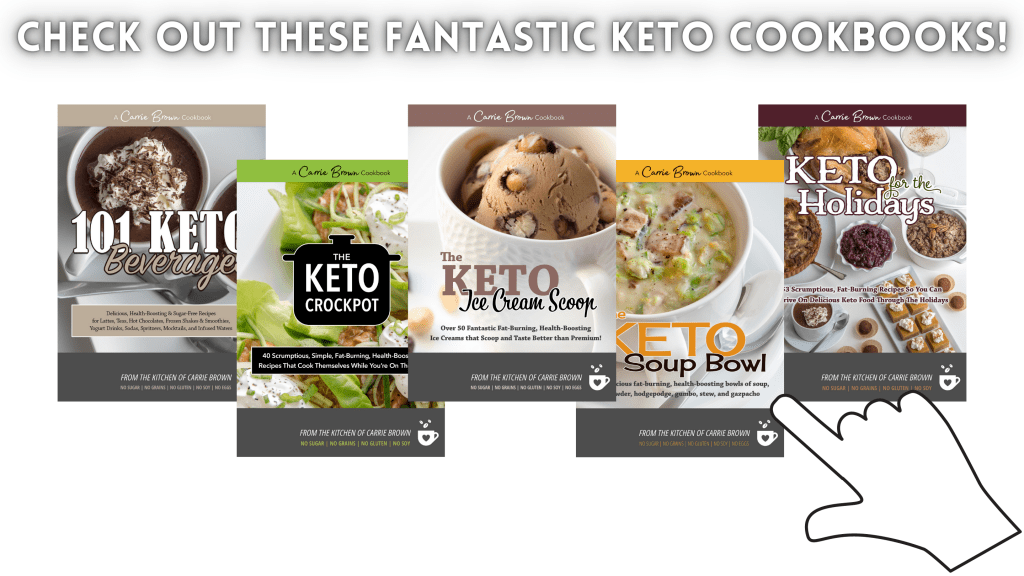
All five Keto Cookbooks by Carrie Brown are now available as physical books, and digital books in pdf format (readable on any device, including Kindle).
These Keto Cookbooks by Carrie Brown are for everyone wanting to feel fantastic without giving up taste, improve their health dramatically, and lose body-fat, these cookbooks are crammed with delicious, nutritious, health-boosting recipes that will help in your quest for improved wellness and increased fat-loss while keeping your taste buds insanely happy.
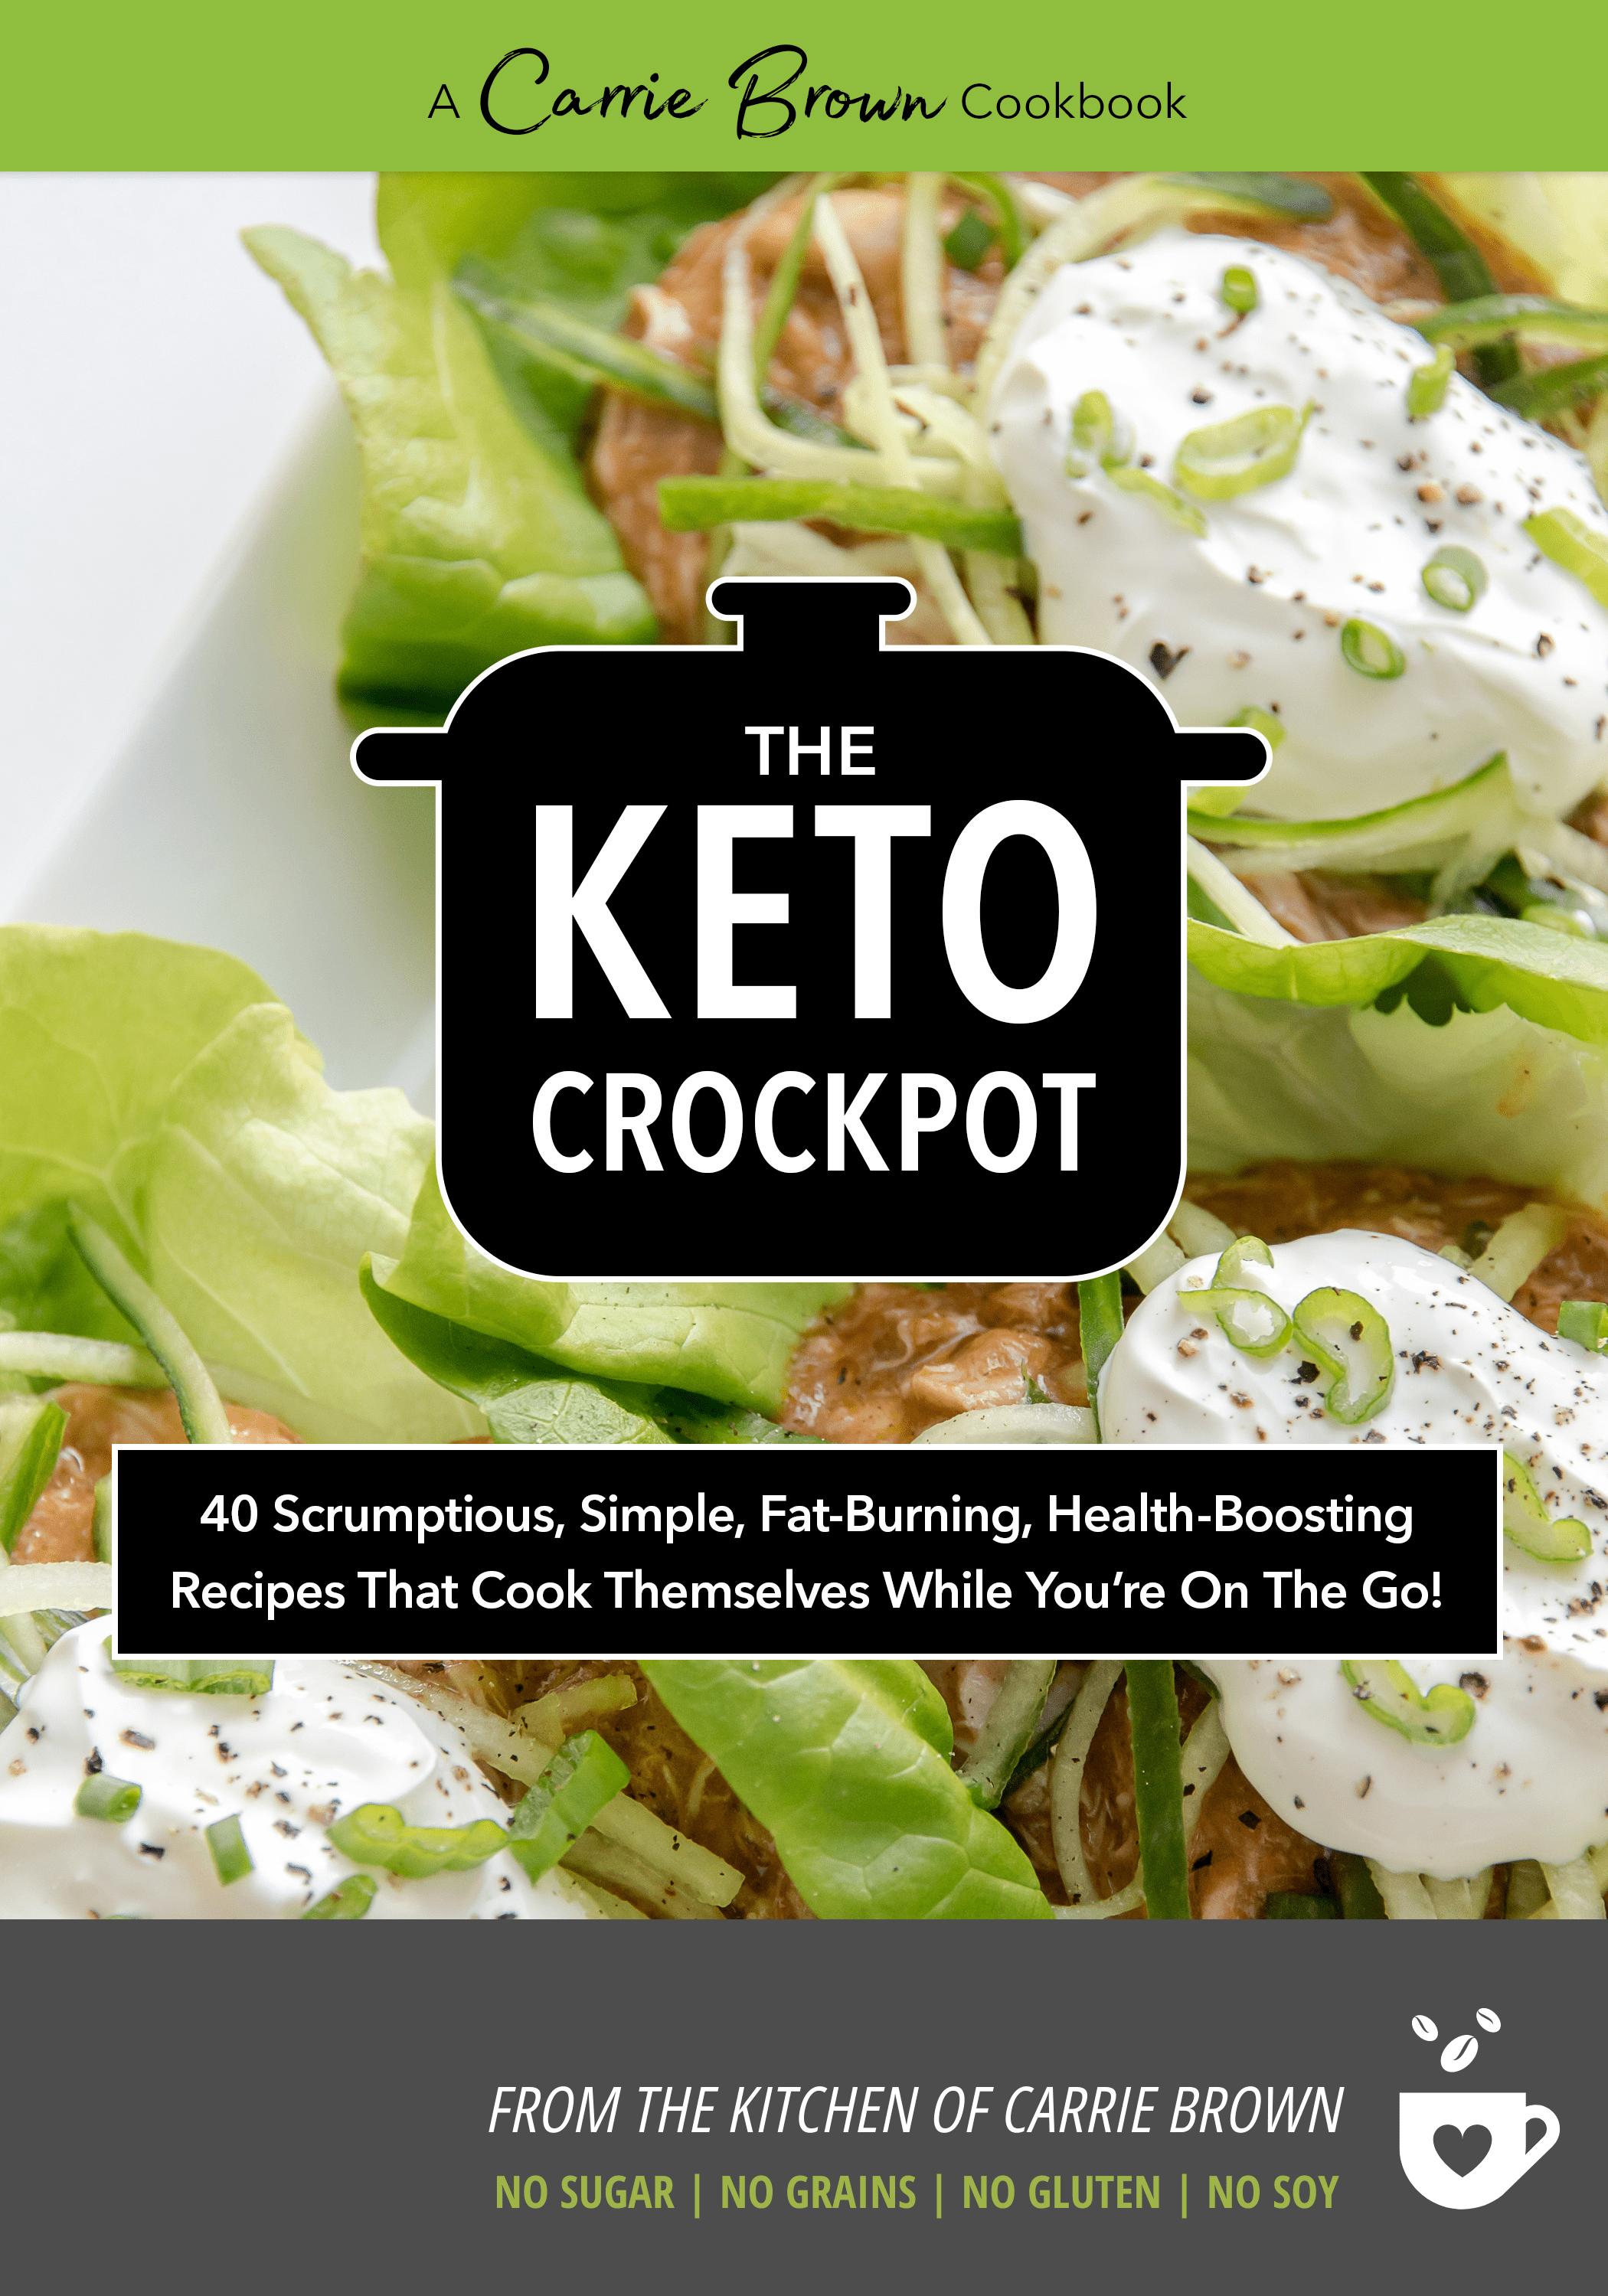
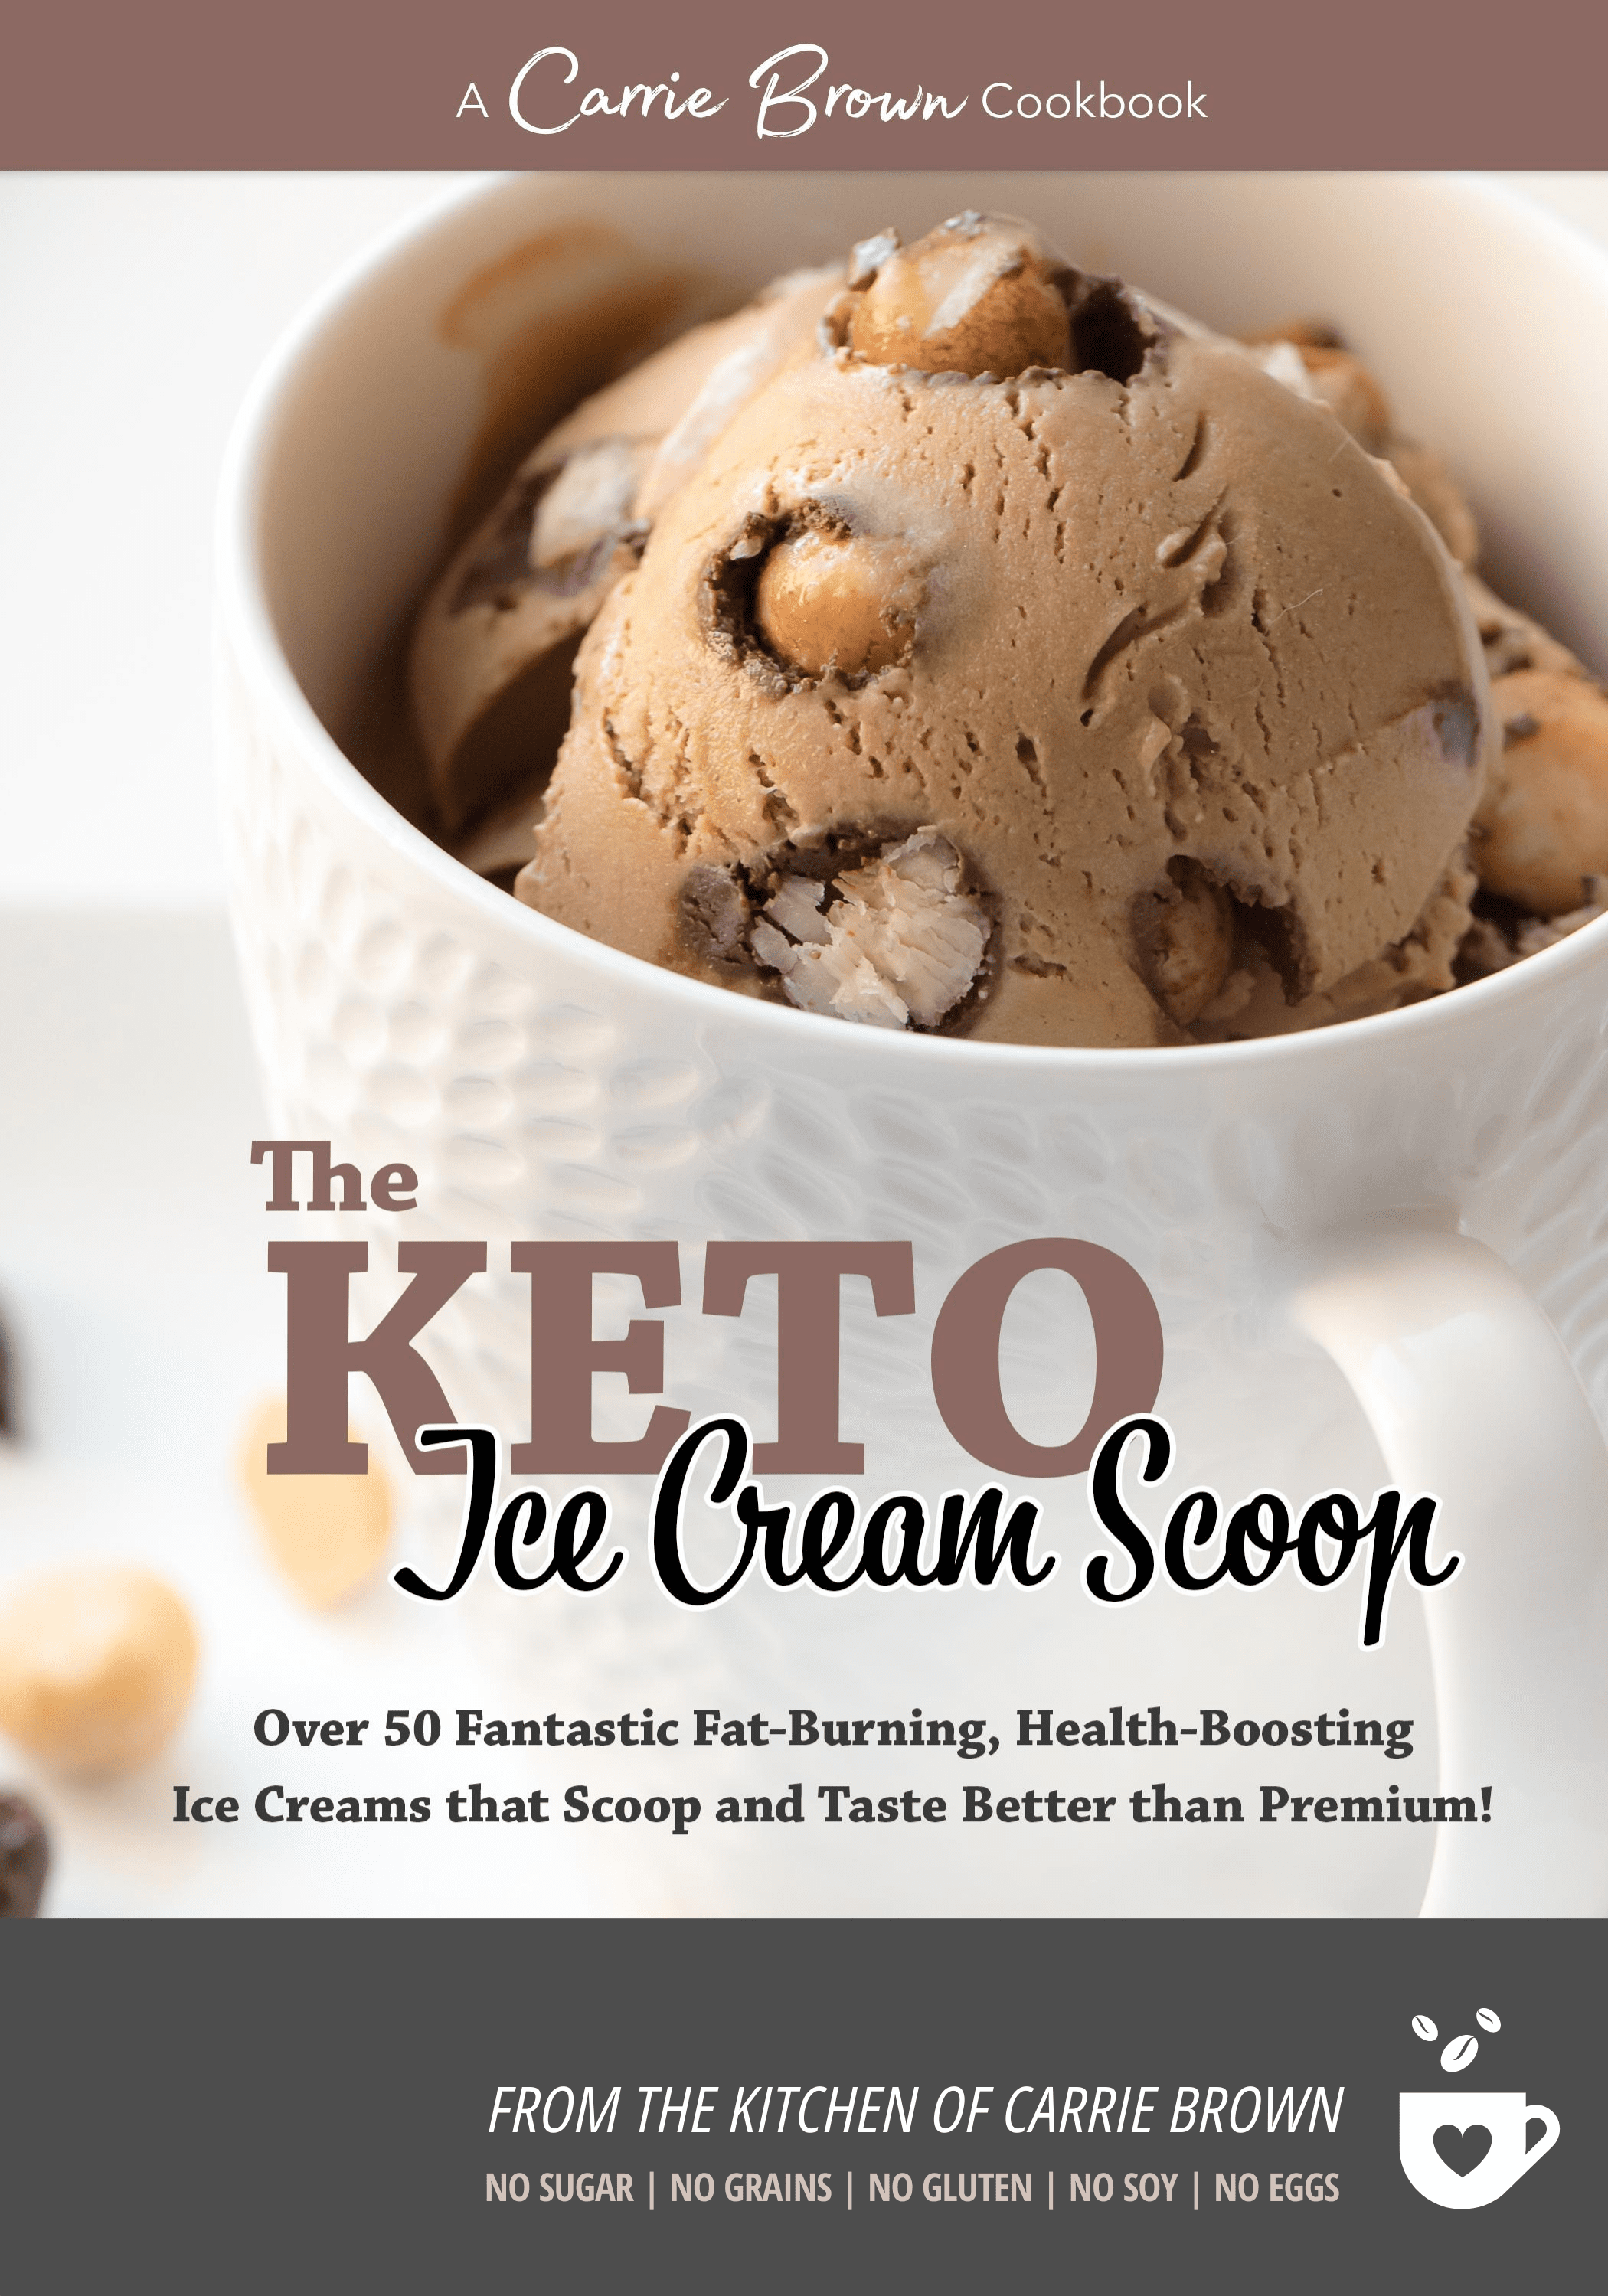
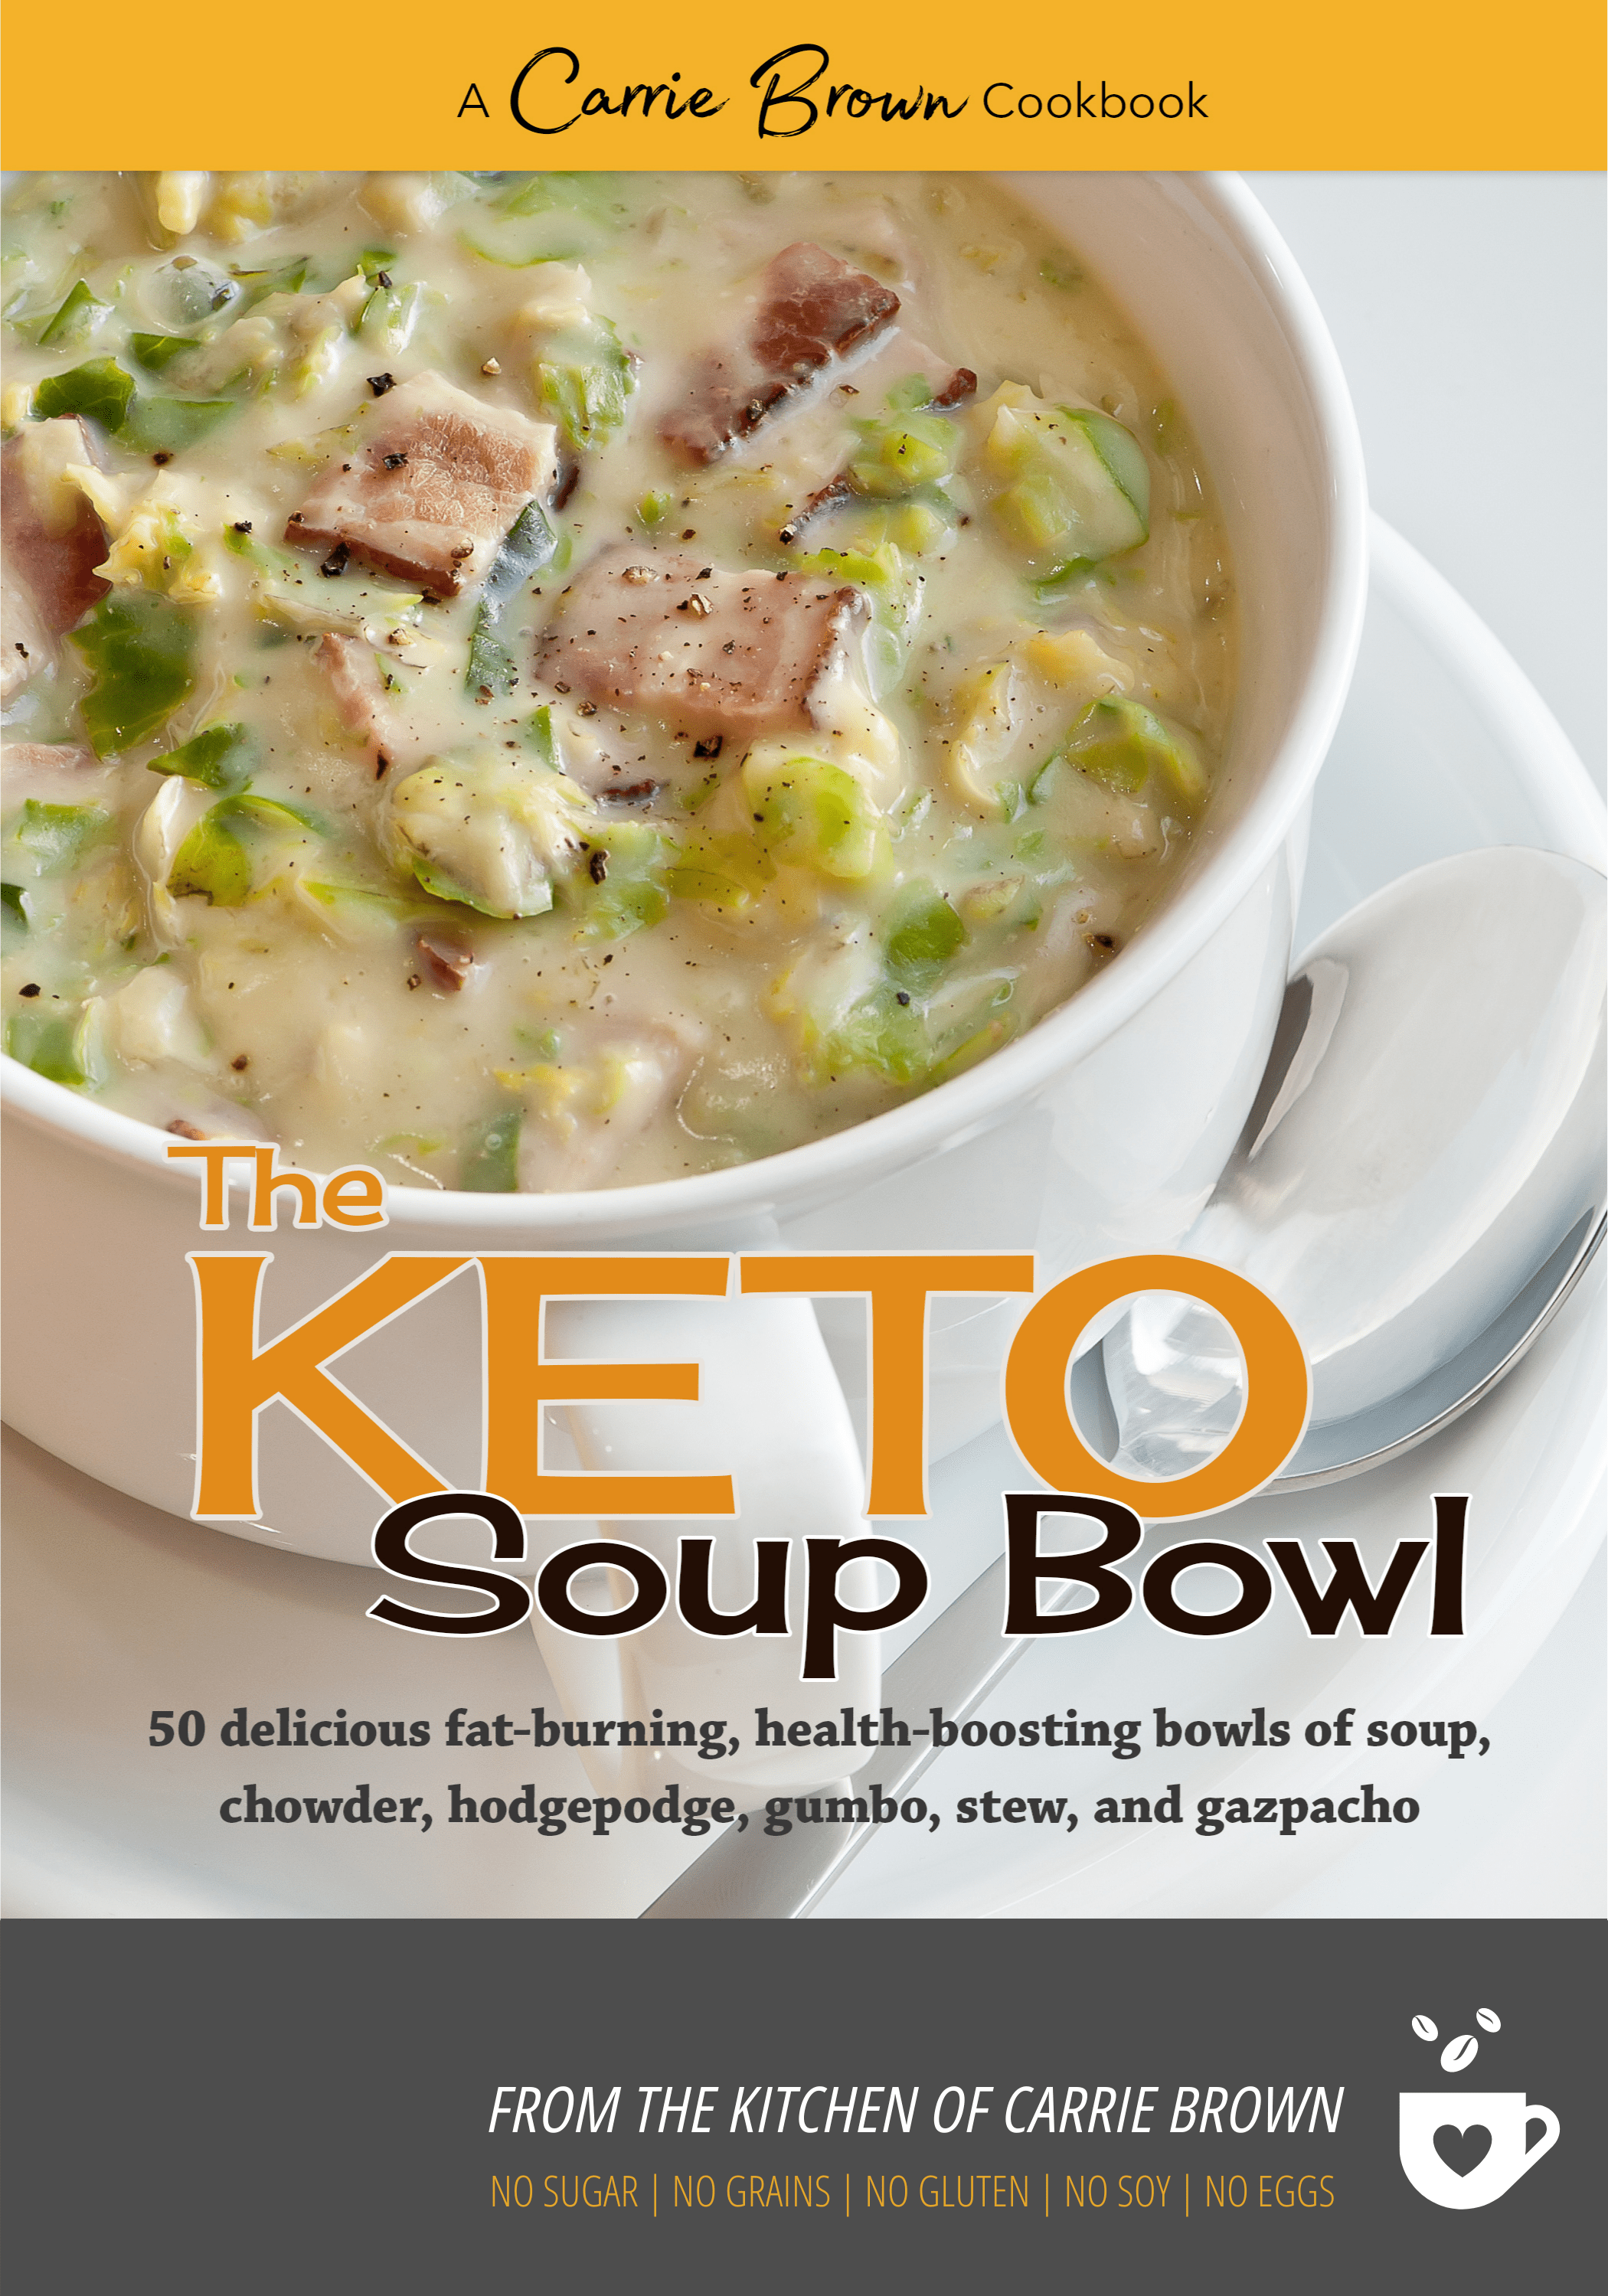
For unsigned physical copies, or digital versions, click on each image below to get full details on the scrumptiousness contained in each one and order the format you love the most.
THANK YOU so much for your purchases!
As well as the incredible value you will find in the pages of these Cookbooks, your purchase also helps keep this website – with all the free info and additional free recipes – up and running without the need for subscription fees, charges, marketing or ads.
Your support is hugely appreciated!
56 comments
VanessaHi, Carrie,
I bought the soup cookbook and am loving it. It’s the easiest way to start the day off right with lots of veggies without getting chilled. The Carrot & Celery Seed soup is one of my favorites.
Last night I made the Ginger Carrot (etc) soup. I am not sure we have ground ginger, so I substituted fresh ginger, which I already had handy. The soup tasted a bit strange and I’m not sure whether to blame the vegetable broth concentrate I used (the instructions are in Chinese, so I had to guess at the proportions) or the fresh ginger. Does it really make a big difference to use ground ginger instead of fresh?
JudyBoth forms are pretty potent. I would go easy on either one but ginger is also very healthy. It’s good for digestion and nausea. Ginger beer is also very tasty!ReplyCancel
Jessica DurhamCarrie
I love listening to you and Brian on your podcast! And I just ordered your Icecream and crock pot books! ReplyCancel
carrieThank you so much, Jessica! We hugely appreciate it!ReplyCancel
Tamara ElliottI just finished listening to the podcast on sweeteners. Could you guys give your feedback on monkfruit? I love it and am looking for thoughts on this relatively new to me sweetener.
MeranHi! Just bought your keto ice cream book. Looks good except for all the guar gum. I have a terrible reaction to guar. Can I substitute a different gum for it?ReplyCancel
CristiI just bought the Keto crockpot book and I am so so excited! I think this will be a life changer for me and my family. Thank you!ReplyCancel
Pualani WagnerJust ordered your book can’t wait…ReplyCancel
PattiI am thinking of buying the soup book, but don’t eat beef or sweeteners. Are there enough recipes that don’t include these ingredients left?ReplyCancel
carrieHI Patti – yes! There are no sweeteners in the Soup Book and plenty of non-beef recipes! You’ll find loads of useful recipes. Hope that helps!ReplyCancel
willowhi carrie
made the sour cream blueberry scones last night and it was slightly disastrous. i have no kitchen scale, so didn’t know how to weigh out the almond flour in grams or ounces, so i used volume measurements and used about 2 cups. came out with a crazily wet dough, so ended up adding another 1 or 1-1/2 cups (didn’t measure, just kept pouring until it wasn’t wet pudding anymore). i also subbed vegan butter and also a problem?
they taste all right, but came out flat and very spongey. like spongey, lumpy pancakes. any chance you can give the almond flour measurement in cups (not grams or ounces) and also advise on what to do if subbing vegan butter and vegan sour cream?
i know you hate subbing stuff, i am sorry! and you are awesome!ReplyCancel
carrieOh dear, Willow. I am so sad to hear about your disaster. Measurements are super-important when baking. Baking is science and if you are not exact you will get unfortunate results like you experienced. There is no cup equivalent for weights of dry ingredients, and if you use cups for measuring dry ingredients you will always struggle to get good results because volume measures are highly inaccurate.
Also, I am afraid I have never used vegan butter or sour cream, so can’t comment on that. Sorry I can’t be more helpful on this one :-( Love to you!ReplyCancel
willowthank you for the empathy, i guess i need to buy a kitchen scale to avoid future disasters. will do! love back at you! :)ReplyCancel
John McleodHi,
I would love to download your recipes, But unable to as I only use Pay pal for all on line orders,I see you have it as a form of such.but when it comes to pay there is no pay pal?ReplyCancel
Tracy PfeifferHi Carrie, have you tested your ice creams with different sweeteners? I can’t have xylitol in my house because I did almost kill my dog and the vet bill was $1800. He seeks it out, boohoo. Let me know if you have. Thank you so much! TracyReplyCancel
carrieI am working on more subs now. None I have tried so far work.ReplyCancel
Roger SkildumWe have the same problem, have 4 dogs in the house and xylitol is not an option in our home even if we do not let the dogs eat people food.ReplyCancel
LoriCarrie – I heard you on Two Keto Dudes and I want to get your five cookboooks for the price of three. Is there a promo code that I use? I have all five in my cart but no discount. :-( A snow storm is coming and I’m ready to do some Keto cooking!
Thanks – LoriReplyCancel
EveHi, Carrie! Just found you and I do love your accent?. Is it possible to print these from their digital format? Thanks!ReplyCancel
Embrace! » The Real Carrie Brown[…] eating smarter. Grab any one – or all! – of my keto cookbooks crammed with scrumptious recipes. These are your “how”. Between them they cover a basic keto day to get you off on […]ReplyCancel
Eve McGuire HowardIs there a cookbook that has all your favorites in it? Main dish things and biscuits and bread?ReplyCancel
DebraI got your Keto Ice Cream Scoop book. My first go was the Va-va-Voom Vanilla…which turned out absolutely PERFECT! So I am now moving on to a new, more exciting, flavor…can’t wait! My question, if trying to stay in Ketosis, watching calories and carbs, how much ice cream can I eat? Should I limit to weekly, or can I eat daily? (I froze in individual containers, about 6oz each.)
John McleodHi,
I would love to download your recipes, But unable to as I only use Pay pal for all on line orders,I see you have it as a form of such.but when it comes to pay there is no pay pal?ReplyCancel
Paul DiNardoI cannot figure out the difference between thick nd thin coconut milk. They all seem to say neither…. I see recipes that call for both.
Joey WestonHi Carrie, just made the keto ice cream…I got my neighbors hooked on to it too! Absolutely wonderful and guilt free. It has been life changing. Makes me question why I never ate keto years ago. ReplyCancel
TraciI bought the set and have just been trying the ice cream recipes. These are the best Keto ice creams I’ve tasted. The guar gum really is the secret ingredient for ice cream that doesn’t turn rock hard in the freezer. Thank you for your great recipes! You must put many hours into their development. I might note too that I didn’t have enough avocados for the avocado ice cream (just 2 small one’s), so I added 2 scoops of vegetable smoothie powder and it tastes great.ReplyCancel
LynnYours was my first ever subscription to a youtube channel. Love it! Also purchased your Ice Cream recipe book, but it may be an earlier version as I don’t think it has sassy goat ice cream.
For some reason I can’t comment there, and can’t find your tips and tricks channel to ask that you do a video on using fresh herbs and spices. I have a problem with washing them, drying them and then chopping them. They go bad before I ever get a chance to use them. So, I tend to use dried. Plus it would be good to understand the flavours that the various herbs and spices add. Just a suggestion. Even if you just do how to wash, store and chop would be a big help.I’ve done keto off and on for a couple of years, but don’t consider myself an expert. I do love your recipes and especially enjoying the videos too that give instructions. I’m one of those people that eat way too many keto treats, and I need to work on that. I’ve never done much cooking, so I learn something frome very one of your videos. I’ve been binging on your youtube videos the past couple of days. Love when you do them with Dr. Berry. Also, I think you have a lot of Canadian followers, and many of the products and stores are not available here. Fox Hill Buns, not. And I don’t think there is a Trader Joes in the country. Oh, and I did send a request to join your facebook page. Once I get in there I’m sure I will learn a lot more.Thanks Carrie. My most favourite thing I’ve made is the peanut butter ice cream. ReplyCancel
JerrieHello,Carrie. I heard you doing an interview with 2Krazyketos and want to try making your ice cream recipe soon.ReplyCancel
LisaAwesome cook books. Easy to follow. ReplyCancel
AllisonIce cream! I bought the Keto ice cream scoop and made the pistachio rose. It’s better than any of the keto ice creams out there. So creamy. Tastes just like the real thing. I used almond milk for the thin coconut milk and greek yoghurt for the creme fraiche. Can’t wait to try more.ReplyCancel
carrieAllison – I am so glad you loved it! One of my favorites from the cookbook!ReplyCancel
IvaThis design is wicked! You obviously know how to keep a reader entertained.
Between your wit and your videos, I was almost moved to start my own blog (well, almost…HaHa!)
Wonderful job. I really loved what you had to
say, and more than that, how you presented it.
Too cool!ReplyCancel
Norman NeuCarrie
I have enjoyed your presentations with Jonathan and your cook books. I have had problems with your ice cream recipes. They turn out rock hard. Any suggestions?NormReplyCancel
AndreaI bought all your cookbooks but find the teachable app incredibly confusing. Is it possible to download them to iBooks?ReplyCancel
carrieYes! All the cookbooks have download links and you can download the pdfs to any device.
When you are in the curriculum, click on Access and Download your Digital Cookbook.
Right at the top of that page it says Download and there is a link directly beneath it.
Compré el libro the keto Ice cream scoop, está padrísimo pero me gustaria que me ayudes con la cantidad de carbohidratos, grasa, proteina y calorias por porcion. De antemano. graciasReplyCancel
RuthSince getting your ice cream book about three years ago I have tried 16 of your recipes and invented 2 variations of my own. I love you! So, so grateful. I do have a question though. Why do you omit eggs from most of your recipes? I was told recently that traditional ice cream recipes use egg custards, and eggs are definitely keto, so I was a bit curious. ReplyCancel
RachaelHi! I am seriously considering joining your Happy Healthy Keto program. Is there a coupon available? Thanks so muchReplyCancel
AnnHello: I purchased 2 of your books, however, I was disappointed to that the nutritional value is not included. I have to know the number of carbs, fats and proteins in everything. Is there somewhere I can find the nutritional breakdown for each recipe?
AnnWhere can you find the nutritional breakdown for all your recipes? I bought 2 books and was disappointed to see that the nutritional breakdown for each recipe is not included.ReplyCancel
Francheska KsenzarskiI just bought Keto for the Holidays book. Where can I locate the calories and carbs for the recipes. None are listed next to each recipe. This is a deal breaker for me. If I can’t get this information I am sending this back and get my money back. ReplyCancel
knowotny@verizon.netHi Carrie! I just yesterday stumbled onto your cookbooks and website. Just made the sheet pan cheesesteak recipe! It was great (even though I had to make a couple of substitutions). Hubby and I both loved it!
I was going to order your Keto Ice Cream cookbook. However, I noticed that most of your recipes call for using Xylitol. As we have six small dogs in our household, I don’t keep xylitol in my kitchen due to it being deadly to dogs with no antidote. I’m afraid if any a little got spilled, one of the fur kids might lick it up. (Messy cook here, lol!) So, will the ice cream recipes work pretty well with erythritol and/or monk fruit? Those are my go to sweeteners, as well as some stevia. Or, I’m open to other suggestions! Thanks in advance!ReplyCancel
GayleWhere can I ask you a question about a recipe ?ReplyCancel
RobertaHello Carrie, I am currently going through Cancer and a lot of the recipes you provide have dairy, eggs etc. in your recipes and I am unable to eat these foods. Do you have any recipes that do not have these foods in them? Thank you!ReplyCancel
I purchased and just received , keto for the holidays and the keto ice cream scoopBut on none of the recipes has the nutritional information..carbs , fat ect.Where would this information be available ?ReplyCancel
LynneHi Carrie, I used unsweetened hazelnut butter to make your fabulous hazelnut ice cream – I got smoother results than when I used my blender. Have you tried this? Also I am substituting Allulose plus some organic Stevia as I can’t tolerate Xylitol.ReplyCancel
JaugerHi Carrie! Wondering if your Keto membership is a flat rate membership or monthly. I am looking for an affordable guide to stay healthy and consistent with my goals. Thanks!ReplyCancel
LizI’ve owned the ice cream book for quite some time but never made the lemon pop before today. Not sure if it was my lemons or what, but the lemon flavor is pretty subtle with the batch I made (and I doubled the juice knowing I would like more) what do you think would be the best approach to a stronger lemon flavor? Steeping the zest longer? Increasing the juice, or adding some lemon extract? I don’t want to mess up the creaminess. (PS my favorite are the chocolate ice creams – I just love them!)ReplyCancel
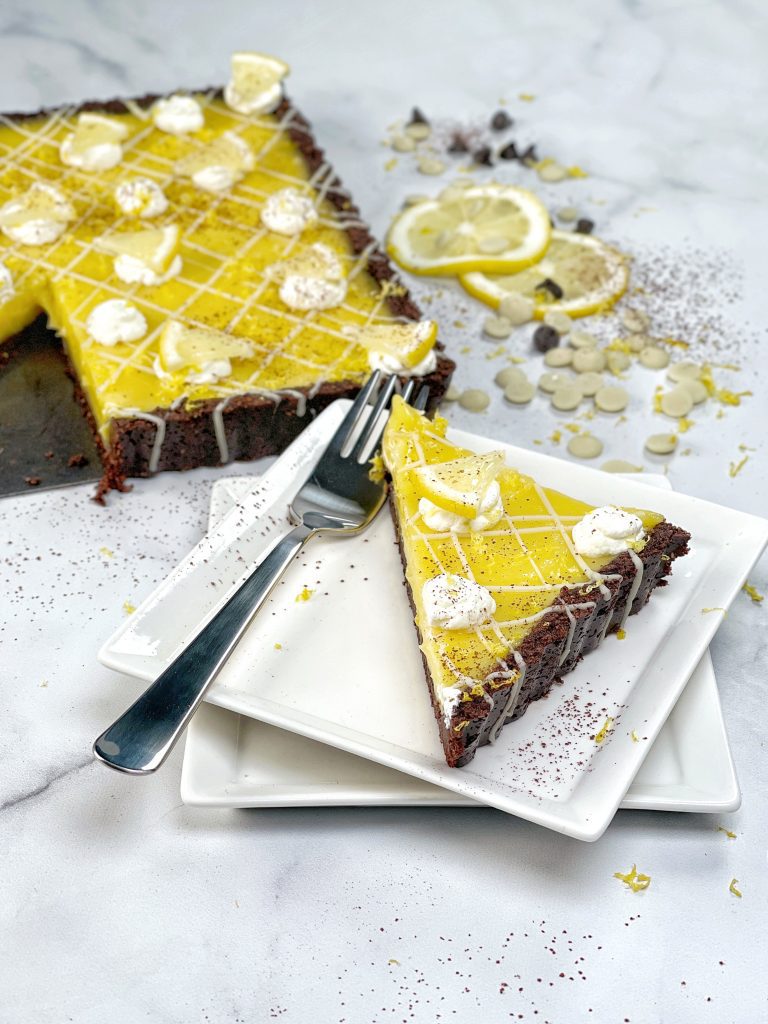
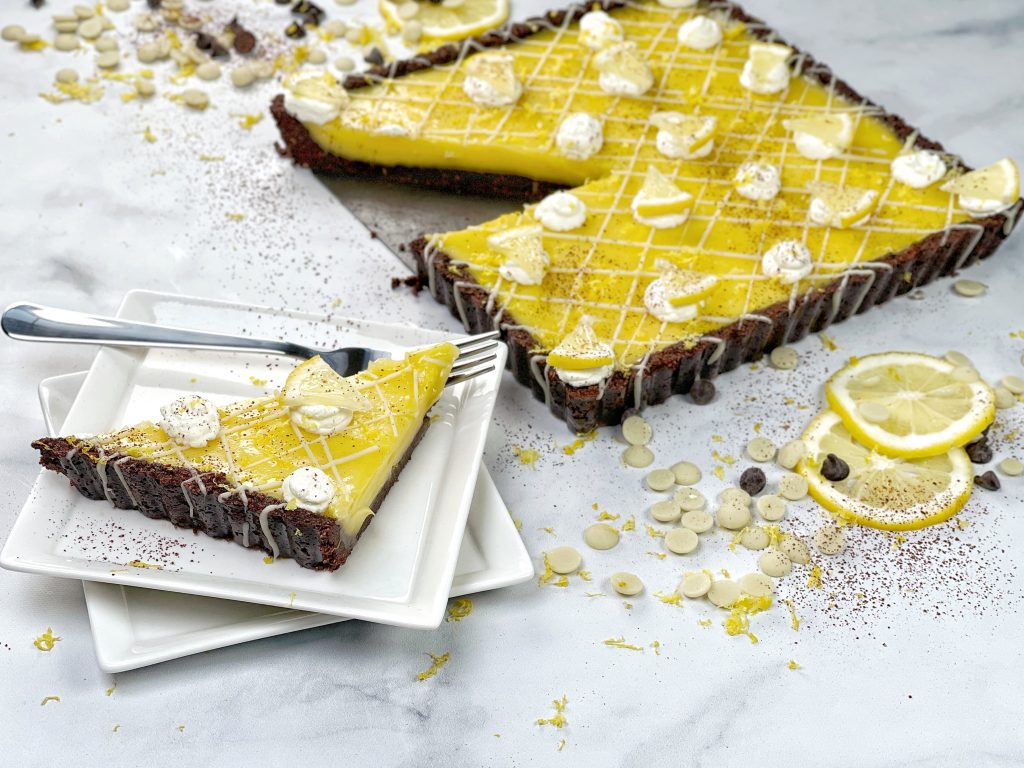
This won’t be the first time I have started a post with the words: I love lemon. And I am certain it won’t be the last, although this White Chocolate Tart au Citron may well be the pinnacle of my lemon desserts.
A classic Tart au Citron has always been a firm favorite of mine, so this twist to make a keto / low carb version was an easy decision. And, while you might look at these pictures and think, “I could never make that”, I am here to assure you that it is simple and easy and you will stun your family and friends with your pastry abilities. And they will never believe this can possibly be part of your strange ‘diet’.
The change came about this summer when I was creating Frozen Key Lime Pies for The Ice Cream of the Month Club, and I wasn’t happy with the ‘pie’ part because it became soggy when frozen. I experimented with various ways to prevent the sogginess and ended up toasting the almond flour before I used it, and boy howdy it’s a huge winner for making no-bake, press-in crusts! It might seem weird the first time you try it, but once you taste the tart crust you’ll never want to do it any other way.
You can make this White Chocolate Tart au Citron in advance, and the first stage can be done several hours – or even a day – before the second, making it perfect for when you are cooking a lot of food or a lot of different dishes. Getting your dessert ready in advance equals way less stress and way more fun for you!
This dreamy White Chocolate Tart au Citron is equally special for a summer dinner or on your holiday buffet table, so grab some Choc Zero White Chocolate Chips(Use code: carriebrown for a 10% discount!) and stash them in the pantry so you can delight your guests all year.
White Chocolate Tart au Citron
Author: Carrie Brown | Prep time: 45 mins | Cook time: 0 | Total time: 45 mins + chilling time | Serves: 12
Lightly brush a 9” loose-bottomed pan with avocado oil. I used this square tart pan, but you can use whatever shape you like. I used the square just to give you inspiration and ideas. The important thing is that it has a loose bottom, otherwise getting your tart out of the pan is a problem.
Put the almond flour in a dry skillet over a medium and toast until golden brown – about 4 minutes. Stir and turn often to ensure they toast evenly.
Remove the almond flour from the heat, pour into a large bowl and allow to cool for 5 minutes.
Stir in the erythritol and cocoa and mix well.
Pour in the melted butter and mix until the dry ingredients are completely coated.
Pour the nut mixture into an oiled, 9” loose-bottomed tart pan of whatever shape you prefer and spread out evenly. Using a straight-sided glass press the almonds down firmly and evenly across the bottom of the pan and up the sides.
Place pan in the fridge so that the crust firms.
Put the eggs, allulose, and lemon juice into a medium pan and whisk together well.
Turn the heat on low and cook, stirring continuously, until the mixture thickens.
As soon as you see the firs bubble appear remove from the heat.
Add the white chocolate chips and stir until melted and smooth.
Add the butter one tablespoon at a time, stirring between each addition until completely melted, mixed in, and smooth.
Remove the tart case from the fridge and carefully pour the lemon chocolate into it.
Gently tap one side or one end of the tart pan on the counter to make air bubbles rise to the surface and also to make the chocolate flow evenly into all the nooks and crannies of the tart case.
Carefully place the tart back in the fridge and chill for at least 4 hours until set.
Remove from the fridge a couple of hours before serving for the best texture. Remove it from the tart pan as soon as you remove it from the fridge as it is a lot stronger when very cold.
Using a small knife gently run it between the tart and tart pan to release it.
Stand the tart on a shallow bowl to make removing the pan rim easy.
Leave the tart on the pan base and place it on your serving dish.
I decorated mine by drizzling with melted Choc Zero White Chocolate Chips (Use code: carriebrown for a 10% discount!). I poured some into a small piping bag (you can use a small Ziploc bag and snip the corner off) to give a very fine drizzle. I whipped cream to stiff peaks and piped randomly directly on the tart. Then I dredged very lightly with cocoa powder and popped tiny triangles of lemon slices on top of half of the cream swirls.
Top Recipe Tips
This looks complicated and seems to have a ton of steps, but it’s really simple and easy. You’ll see.
This is very rich so plan on getting a lot of small servings out of this recipe.
When you get it out the fridge you might see beads of moisture appear on the surface. Don’t panic! They will disappear when the tart comes to room temperature.
Slice using a sharp knife that has been warmed under hot water and then wiped. It will make it much easier and you will be able to get clean slices like in the picture. After each cut, put under warm running water and wipe clean.
You can also use lime juice instead of lemon if you prefer or want something more unusual.
If you use a square tart pan you can also cut into bars instead of wedges by cutting in half, then half again, and then slicing each quarter into slices.
I used Choc Zero White Chocolate Chips (Use code: carriebrown for a 10% discount!) and for best results I recommend you do the same. DO NOT use 100% unsweetened chocolate. You can use any sugar-free chocolate you like but the taste will and the texture may be different. Not all chocolates are the same {insert heart emoji here}.
THANK YOU FOR YOUR SUPPORT! YOU MAKE ALL THINGS POSSIBLE.
There *may* be an affiliate link or two in this post and I *may* receive a small commission from qualifying purchases in order to provide free content for you. As an Amazon Associate I earn from qualifying purchases.
1 comment
LisaCarrie is is ok to put the ice creams into ninja cream I pints then make it once pint is frozen. I don’t have an ice cream churner. Thank you ReplyCancel
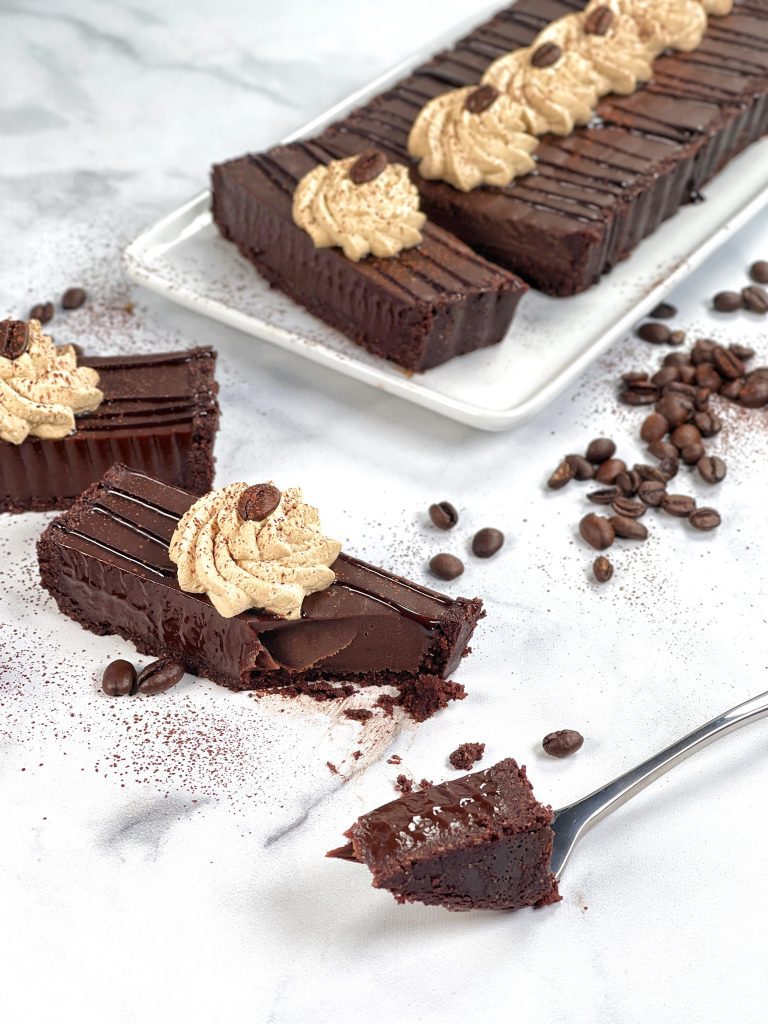
Chocolate. Coffee. Mix them together and make a French Patisserie-worthy dessert: Milk Chocolate Espresso Tart. Does life get any better?
This might look intimidating to the point of you breaking out in a cold sweat, but in reality it is simple, easy, and fantastically delicious. I walk you through it step-by-step. You, too, can create professional-looking and tasting tarts when you have a great recipe, good ingredients, and someone who cares to give you the right steps.
It came about in the summer when I was creating Frozen Key Lime Pies for The Ice Cream of the Month Club, and I wasn’t happy with the ‘pie’ part because it became soggy when frozen. So I experimented with various ways to prevent that and ended up toasting the almond flour before I used it, and boy howdy it’s a huge winner for making no-bake, press-in crusts! It might seem weird the first time you try it, but once you taste the tart crust you’ll never want to do it any other way.
You can make this Milk Chocolate Espresso Tart in advance, and the first stage can be done several hours – or even a day – before the second, making it perfect for when you are cooking a lot of food or a lot of different dishes. Getting your dessert ready in advance equals way less stress and way more fun for you!
You will want to serve this Milk Chocolate Espesso Tart at every opportunity so grab some Choc Zero Milk Chocolate Chips(Use code: carriebrown for a 10% discount!) and stash them in the pantry so you can dazzle your peeps year-round.
Milk Chocolate Espresso Tart
Author: Carrie Brown | Prep time: 40 mins | Cook time: 0 | Total time: 40 mins + chilling time | Serves: 12
Lightly brush a 9” loose-bottomed pan with avocado oil. I used the largest of these rectangular tart pans, but you can use whatever shape you like. I used the rectangle just to give you inspiration and ideas. The important thing is that it has a loose bottom, otherwise getting your tart out of the pan is a problem.
Put the almond flour in a dry skillet over a medium and toast until golden brown – about 4 minutes. Stir and turn often to ensure they toast evenly.
Remove the almond flour from the heat, pour into a large bowl and allow to cool for 5 minutes.
Stir in the erythritol and cocoa and mix well.
Pour in the melted butter and mix until the dry ingredients are completely coated.
Pour the nut mixture into an oiled, loose-bottomed tart pan of whatever shape you prefer and spread out evenly. Using a straight-sided glass press the almonds down firmly and evenly across the bottom of the pan and up the sides.
Place pan in the fridge so that the crust firms.
Put the heavy cream and ground coffee into a pan and heat until the cream just begins to bubble. Turn the heat off, stir, and leave to cool for 30 minutes.
Place a fine mesh sieve over a bowl and pour the cream and coffee grounds through it. Discard the coffee grounds. Put them on your roses.
Add the sea salt and vanilla extract and return the cream to the pan.
Put the chocolate chips in the bowl the cream was in.
Gently heat the cream until it just starts to steam.
Quickly pour the hot cream over the chocolate chips and stir with a spatula until the chocolate is completely melted.
Leave to cool for about 30 minutes.
Remove the tart pan from the fridge and carefully pour the chocolate cream into the tart case.
Gently tap one side or one end of the tart pan on the counter to make air bubbles rise to the surface and also to make the chocolate flow evenly into all the nooks and crannies of the tart case.
Carefully place the tart back in the fridge and chill for at least 4 hours until set.
Remove from the fridge a couple of hours before serving for the best texture. Remove it from the tart pan as soon as you remove it from the fridge as it is a lot stronger when very cold.
Using a small knife gently run it between the tart and tart pan to release it.
Stand the tart on a shallow bowl to make removing the pan rim easy.
Leave the tart on the pan base and place it on your serving dish.
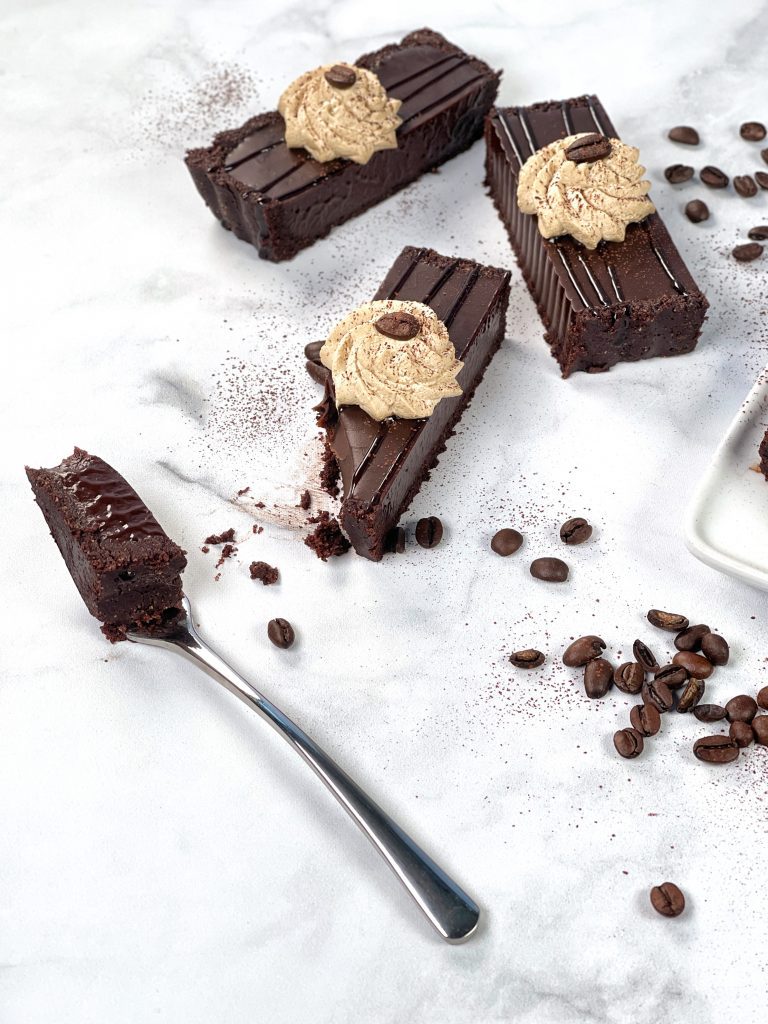
I decorated mine by drizzling with Choc Zero Chocolate Syrup (Use code: carriebrown for a 10% discount!). I poured some into a small piping bag (you can use a small Ziploc bag and snip the corner off) to give a very fine drizzle. Then I made some coffee whipped cream by adding espresso powder to heavy whipping cream and whipping to stiff peaks and piping directly on the tart. Then I dredged very lightly with cocoa powder and popped a coffee bean on top of each swirl of coffee whip.
Top Recipe Tips
This looks complicated and seems to have a ton of steps, but it’s really simple and easy. You’ll see.
This is very rich so plan on getting a lot of small servings out of this recipe.
When you get it out the fridge you might see beads of moisture appear on the surface. Don’t panic! They will disappear when the tart comes to room temperature.
Slice using a sharp knife that has been warmed under hot water and then wiped. It will make it much easier and you will be able to get clean slices like in the picture. After each cut, put under warm running water and wipe clean.
You’re gonna want to put that coffee whip on everything.
I used Choc Zero Milk Chocolate Chips(Use code: carriebrown for a 10% discount!) and for best results I recommend you do the same. DO NOT use 100% unsweetened chocolate. You can use any sugar-free chocolate you like but the taste will and the texture may be different. Not all chocolates are the same {insert heart emoji here}.
This comes out pretty ‘dark’, but if you want to use dark chocolate chips you can. I recommend increasing the coffee beans to 2 ¼ oz. / 60g otherwise you won’t get much espresso flavor come through.
THANK YOU FOR YOUR SUPPORT! YOU MAKE ALL THINGS POSSIBLE.
There *may* be an affiliate link or two in this post and I *may* receive a small commission from qualifying purchases in order to provide free content for you. As an Amazon Associate I earn from qualifying purchases.
Wait. Cranberry Mayonnaise?? CRANBERRY MAYONNAISE!! Yep, it’s A Thing and it. is. delicious. Creamy, refreshing, and with a slight tang it will totally upgrade your turkey sandwich experience. It’s not sweet and it’s not tart, it’s a middle ground of awesomeness. Then, when you bite into a piece of cranberry you get an extra hit of cranberry flavor.
This recipe has a higher egg: oil ratio to make a more stable mayonnaise as the addition of cranberry sauce could contribute to it splitting or becoming too thin. And no one wants thin mayo.
My taste-testers were skeptical, but once they tasted it they loved it! Their favorite way of eating it – after turkey sandwiches of course – was to slice an avocado in half, remove the pit and then fill the hole with Cranberry Mayonnaise and eat it all with a spoon. And that’s my new preferred way to eat an avocado now.
If you wait all year for the Turkey and Cranberry Sauce sandwiches (*raises hand*) then this year try switching it up with this fantastic Cranberry Mayonnaise. This might just be your new favorite dressing.
Cranberry Mayonnaise
Author: Carrie Brown | Prep time: 10 mins | Cook time: 0 | Total time: 10 mins |
What You Need
2 eggs
1 tsp. Dijon mustard
2 tsp. lemon juice
1 tsp. white wine vinegar
1 tsp. apple cider vinegar
¼ tsp. sea salt (For the best salt and a 15% discount use code: carriebrown)
USING A STICK BLENDER: Put the eggs, Dijon mustard, lemon juice, white wine vinegar, apple cider vinegar, and sea salt in the bottom of the jug that came with your stick blender, or a tall mason or similar jar slightly wider than the whisk of the stick blender.
Holding the blender in one hand make sure the bottom of blender is in contact with the bottom of the jar and turn on to mix the ingredients.
With the other hand slowly pour the avocado oil into the jar while the blender is running.
Once all the oil has been added whisk until the ingredients at the bottom turn thick and creamy, then slowly – while the blender is still running – raise the stick blender up the jar.
Blend until all of the mayonnaise is thick and creamy.
Add the Cranberry Sauce to the jar and stir into the mayonnaise until completely mixed.
OPTIONAL: If you want smooth Cranberry Mayonnaise then use the stick blender to blend them together.
Spoon the Cranberry mayonnaise into a mason jar or similar airtight storage container and keep in the fridge.
I highly recommend making it a day ahead and letting it sit overnight or for a day before eating it.
USING A BLENDER: Put the eggs, Dijon mustard, lemon juice, white wine vinegar, apple cider vinegar, and sea salt in the blender jug and blend until mixed.
Remove the middle of the blender lid and with the blender still running very slowly drizzle the oil through the hole in the lid so that it mixes into the other ingredients.
Continue drizzling the oil slowly into the mayonnaise until it is all blended in and the mayonnaise is thick and creamy.
For smooth Cranberry Mayonnaise, turn the blender to low speed and add the Cranberry Sauce, blending until completely mixed.
For chunky Cranberry Mayonnaise, spoon the mayonnaise from the blender into a bowl, add the Cranberry Sauce and mix together well.
Spoon the Cranberry mayonnaise into a mason jar or similar airtight storage container and keep in the fridge.
I highly recommend making it a day ahead and letting it sit overnight or for a day before eating it.
Top Recipe Tips
I highly recommend making this the day before you need it to let all the flavors meld together fully.
Do not freeze. Well, you can, but you won’t be happy when you defrost it.
If this is your first time making mayonnaise, take it super slow and easy.
THANK YOU FOR YOUR SUPPORT! YOU MAKE ALL THINGS POSSIBLE.
There *may* be an affiliate link or two in this post and I *may* receive a small commission from qualifying purchases in order to provide free content for you. As an Amazon Associate I earn from qualifying purchases.
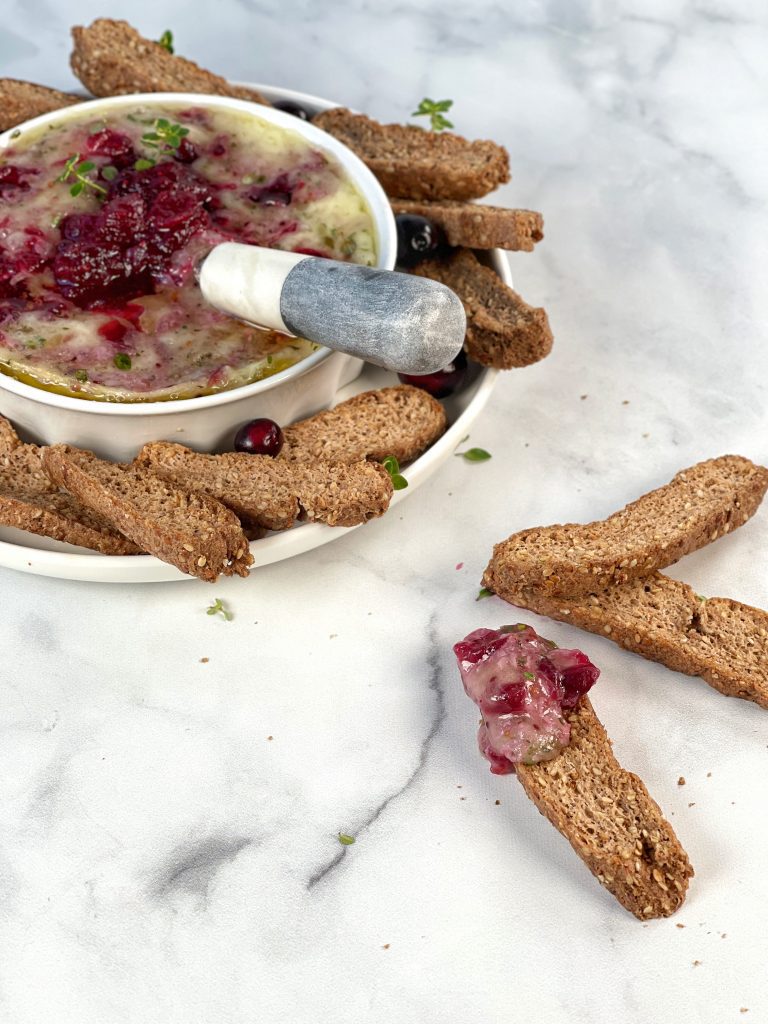
I give you probably the easiest recipe on earth – and despite that this Cranberry Thyme Dip is freakin’ delicious! Three ingredients + heat + time and you’ll be wowing yourself as well as friends and family.
Perfect for your holiday table, a pre-dinner appetizer, or even a welcome new addition to your game day feast, this Cranberry Thyme Dip will surprise and delight. Once it’s made you just need to add the dip transporters of your choice – I am a huge fan of Fox Hill Kitchens Crisps or toasted Bagel Holz – and you’re set.
Cranberry Thyme Dip
Author: Carrie Brown | Prep time: 5 mins | Cook time: 20 | Total time: 25 mins
Mash the cranberry sauce in a small bowl and stir in the finely chopped fresh thyme.
Unwrap the brie wheel and carefully slice off the top rind. Take as little off as you can – just enough to reveal the soft inside.
Place the brie wheel in a dish the same size or as close to it as you can get.
Cover a small baking tray with aluminum foil and place the dish with the brie wheel in the center.
Place on the center rack in the oven and bake for 10 minutes until melted.
Remove from the oven and carefully stir the mashed cranberry thyme mixture into the brie wheel. It’ll be gooey and messy and that’s the point.
Return to the oven for a further 10 minutes until the cheese is bubbling.
Remove from the oven, place the dish with the brie on a larger serving dish and surround with dip transporters such as Fox Hill Kitchens Crisps or Croutonz (use code: carrie for a 15% discount!)
You can pop the brie back in the oven to soften again if it isn’t devoured before it cools off.
Top Recipe Tips
If serving a crowd consider a larger 1 lb. / 450g brie wheel and double the other ingredients.
THANK YOU FOR YOUR SUPPORT! YOU MAKE ALL THINGS POSSIBLE.
There *may* be an affiliate link or two in this post and I *may* receive a small commission from qualifying purchases in order to provide free content for you. As an Amazon Associate I earn from qualifying purchases.
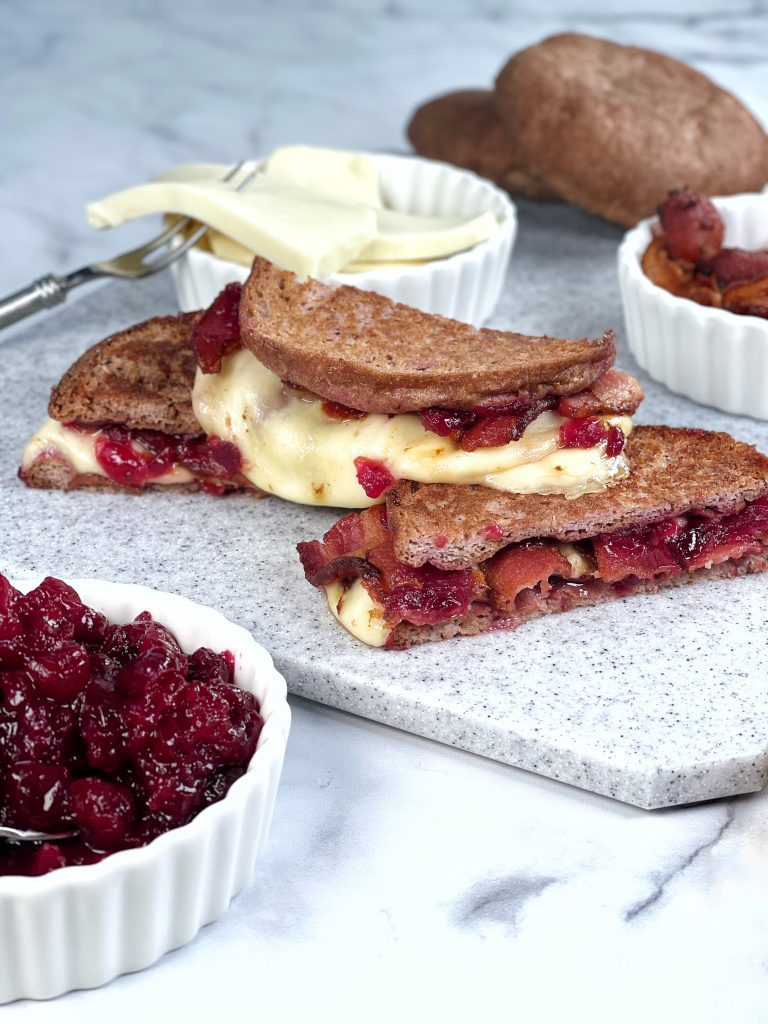
Bacon, cranberry sauce, and ooey-gooey mozzarella cheese between two pieces of Fox Hill Bunz is the all-year round sandwich you didn’t realize was missing from your life. This Bacon Cranberry Melt is destined to be your IT sandwich for the next forever.
An entirely keto, entirely delicious choice for the holiday season and beyond, cranberry lovers everywhere can rejoice that their favorite condiment now makes a regular old grilled cheese into something spectacular.
If you love the holidays for the Turkey and Cranberry Sauce sandwiches (*raises hand*) then this year try switching it up with a warm, gooey Bacon Cranberry Melt. You won’t be disappointed.
Bacon Cranberry Melt
Author: Carrie Brown | Prep time: 10 mins | Cook time: 20 | Total time: 3 0mins | Serves: Use 1 Bunz per person
What You Need
Fox Hill Kitchens Bunz (use code: carriebrown for 15% discount!) or other keto buns / sliced bread
Carefully flip the sandwich over into a skillet so that the buttered side is on the pan. Flipping quickly will stop the sandwich layers from sliding.
Once the sandwich is in the pan, carefully spread softened butter on the cut surface of the bunz.
Heat the pan over low heat until the bottom bun is golden brown and crispy – about 7 minutes. If your cheese slices are very thick, cover the skillet with a lid or a baking tray to warm the cheese up faster so that the cheese is melted by the time the bunz brown.
Carefully flip the sandwich over to cook the other side. Cover if the cheese needs to melt faster.
Once the second side is browned and crispy, carefully lift out of the skillet onto a cutting board.
Using a serrated knife and a sawing motion cut the sandwich in half and serve.
Spreading cranberry sauce of both halves of the sandwich helps the cheese and bacon to stick to the bunz better and stop the slide when you flip them during cooking.
You can use whichever melty cheese you prefer, but mozzarella does very well here.
THANK YOU FOR YOUR SUPPORT! YOU MAKE ALL THINGS POSSIBLE.
There *may* be an affiliate link or two in this post and I *may* receive a small commission from qualifying purchases in order to provide free content for you. As an Amazon Associate I earn from qualifying purchases.


VanessaHi, Carrie,
I bought the soup cookbook and am loving it. It’s the easiest way to start the day off right with lots of veggies without getting chilled. The Carrot & Celery Seed soup is one of my favorites.
Last night I made the Ginger Carrot (etc) soup. I am not sure we have ground ginger, so I substituted fresh ginger, which I already had handy. The soup tasted a bit strange and I’m not sure whether to blame the vegetable broth concentrate I used (the instructions are in Chinese, so I had to guess at the proportions) or the fresh ginger. Does it really make a big difference to use ground ginger instead of fresh?
Thanks!
JudyBoth forms are pretty potent. I would go easy on either one but ginger is also very healthy. It’s good for digestion and nausea. Ginger beer is also very tasty!
Jessica DurhamCarrie
I love listening to you and Brian on your podcast! And I just ordered your Icecream and crock pot books!
carrieThank you so much, Jessica! We hugely appreciate it!
Tamara ElliottI just finished listening to the podcast on sweeteners. Could you guys give your feedback on monkfruit? I love it and am looking for thoughts on this relatively new to me sweetener.
Thanks,
Tamara
steve bollingerCarrie, Why dont you break down the macros in your smarter ice cream ebook?
carrieHi Steve! Check out our podcast on the subject! http://www.ketovangelistkitchen.com/episode-17-our-lovehate-relationship-with-macros/
MeranHi! Just bought your keto ice cream book. Looks good except for all the guar gum. I have a terrible reaction to guar. Can I substitute a different gum for it?
CristiI just bought the Keto crockpot book and I am so so excited! I think this will be a life changer for me and my family. Thank you!
Pualani WagnerJust ordered your book can’t wait…
PattiI am thinking of buying the soup book, but don’t eat beef or sweeteners. Are there enough recipes that don’t include these ingredients left?
carrieHI Patti – yes! There are no sweeteners in the Soup Book and plenty of non-beef recipes! You’ll find loads of useful recipes. Hope that helps!
willowhi carrie
made the sour cream blueberry scones last night and it was slightly disastrous. i have no kitchen scale, so didn’t know how to weigh out the almond flour in grams or ounces, so i used volume measurements and used about 2 cups. came out with a crazily wet dough, so ended up adding another 1 or 1-1/2 cups (didn’t measure, just kept pouring until it wasn’t wet pudding anymore). i also subbed vegan butter and also a problem?
they taste all right, but came out flat and very spongey. like spongey, lumpy pancakes. any chance you can give the almond flour measurement in cups (not grams or ounces) and also advise on what to do if subbing vegan butter and vegan sour cream?
i know you hate subbing stuff, i am sorry! and you are awesome!
carrieOh dear, Willow. I am so sad to hear about your disaster. Measurements are super-important when baking. Baking is science and if you are not exact you will get unfortunate results like you experienced. There is no cup equivalent for weights of dry ingredients, and if you use cups for measuring dry ingredients you will always struggle to get good results because volume measures are highly inaccurate.
Also, I am afraid I have never used vegan butter or sour cream, so can’t comment on that. Sorry I can’t be more helpful on this one :-( Love to you!
willowthank you for the empathy, i guess i need to buy a kitchen scale to avoid future disasters. will do! love back at you! :)
John McleodHi,
I would love to download your recipes, But unable to as I only use Pay pal for all on line orders,I see you have it as a form of such.but when it comes to pay there is no pay pal?
Tracy PfeifferHi Carrie, have you tested your ice creams with different sweeteners? I can’t have xylitol in my house because I did almost kill my dog and the vet bill was $1800. He seeks it out, boohoo. Let me know if you have. Thank you so much! Tracy
carrieI am working on more subs now. None I have tried so far work.
Roger SkildumWe have the same problem, have 4 dogs in the house and xylitol is not an option in our home even if we do not let the dogs eat people food.
LoriCarrie – I heard you on Two Keto Dudes and I want to get your five cookboooks for the price of three. Is there a promo code that I use? I have all five in my cart but no discount. :-( A snow storm is coming and I’m ready to do some Keto cooking!
Thanks – Lori
carriehttps://carriebrown.com/getting-started-keto-digital-cookbooks-special
EveHi, Carrie! Just found you and I do love your accent?. Is it possible to print these from their digital format? Thanks!
Embrace! » The Real Carrie Brown[…] eating smarter. Grab any one – or all! – of my keto cookbooks crammed with scrumptious recipes. These are your “how”. Between them they cover a basic keto day to get you off on […]
Eve McGuire HowardIs there a cookbook that has all your favorites in it? Main dish things and biscuits and bread?
DebraI got your Keto Ice Cream Scoop book. My first go was the Va-va-Voom Vanilla…which turned out absolutely PERFECT! So I am now moving on to a new, more exciting, flavor…can’t wait! My question, if trying to stay in Ketosis, watching calories and carbs, how much ice cream can I eat? Should I limit to weekly, or can I eat daily? (I froze in individual containers, about 6oz each.)
Thank you!
Debra
John McleodHi,
I would love to download your recipes, But unable to as I only use Pay pal for all on line orders,I see you have it as a form of such.but when it comes to pay there is no pay pal?
Paul DiNardoI cannot figure out the difference between thick nd thin coconut milk. They all seem to say neither…. I see recipes that call for both.
Any help? Thanks!! paul
Herb RoyCan is thick, carton is thin.
Joey WestonHi Carrie, just made the keto ice cream…I got my neighbors hooked on to it too! Absolutely wonderful and guilt free. It has been life changing. Makes me question why I never ate keto years ago.
prophototest comment
prophototest comment 3
prophototest 4 commnet
TraciI bought the set and have just been trying the ice cream recipes. These are the best Keto ice creams I’ve tasted. The guar gum really is the secret ingredient for ice cream that doesn’t turn rock hard in the freezer. Thank you for your great recipes! You must put many hours into their development. I might note too that I didn’t have enough avocados for the avocado ice cream (just 2 small one’s), so I added 2 scoops of vegetable smoothie powder and it tastes great.
LynnYours was my first ever subscription to a youtube channel. Love it! Also purchased your Ice Cream recipe book, but it may be an earlier version as I don’t think it has sassy goat ice cream.
For some reason I can’t comment there, and can’t find your tips and tricks channel to ask that you do a video on using fresh herbs and spices. I have a problem with washing them, drying them and then chopping them. They go bad before I ever get a chance to use them. So, I tend to use dried. Plus it would be good to understand the flavours that the various herbs and spices add. Just a suggestion. Even if you just do how to wash, store and chop would be a big help.I’ve done keto off and on for a couple of years, but don’t consider myself an expert. I do love your recipes and especially enjoying the videos too that give instructions. I’m one of those people that eat way too many keto treats, and I need to work on that. I’ve never done much cooking, so I learn something frome very one of your videos. I’ve been binging on your youtube videos the past couple of days. Love when you do them with Dr. Berry. Also, I think you have a lot of Canadian followers, and many of the products and stores are not available here. Fox Hill Buns, not. And I don’t think there is a Trader Joes in the country. Oh, and I did send a request to join your facebook page. Once I get in there I’m sure I will learn a lot more.Thanks Carrie. My most favourite thing I’ve made is the peanut butter ice cream.
JerrieHello,Carrie. I heard you doing an interview with 2Krazyketos and want to try making your ice cream recipe soon.
LisaAwesome cook books. Easy to follow.
AllisonIce cream! I bought the Keto ice cream scoop and made the pistachio rose. It’s better than any of the keto ice creams out there. So creamy. Tastes just like the real thing. I used almond milk for the thin coconut milk and greek yoghurt for the creme fraiche. Can’t wait to try more.
carrieAllison – I am so glad you loved it! One of my favorites from the cookbook!
IvaThis design is wicked! You obviously know how to keep a reader entertained.
Between your wit and your videos, I was almost moved to start my own blog (well, almost…HaHa!)
Wonderful job. I really loved what you had to
say, and more than that, how you presented it.
Too cool!
Norman NeuCarrie
I have enjoyed your presentations with Jonathan and your cook books. I have had problems with your ice cream recipes. They turn out rock hard. Any suggestions?Norm
AndreaI bought all your cookbooks but find the teachable app incredibly confusing. Is it possible to download them to iBooks?
carrieYes! All the cookbooks have download links and you can download the pdfs to any device.
Claudia Martinez de la PeñaHola Carrie!
Compré el libro the keto Ice cream scoop, está padrísimo pero me gustaria que me ayudes con la cantidad de carbohidratos, grasa, proteina y calorias por porcion. De antemano. gracias
RuthSince getting your ice cream book about three years ago I have tried 16 of your recipes and invented 2 variations of my own. I love you! So, so grateful. I do have a question though. Why do you omit eggs from most of your recipes? I was told recently that traditional ice cream recipes use egg custards, and eggs are definitely keto, so I was a bit curious.
RachaelHi! I am seriously considering joining your Happy Healthy Keto program. Is there a coupon available? Thanks so much
AnnHello: I purchased 2 of your books, however, I was disappointed to that the nutritional value is not included. I have to know the number of carbs, fats and proteins in everything. Is there somewhere I can find the nutritional breakdown for each recipe?
Thank you,Ann
AnnWhere can you find the nutritional breakdown for all your recipes? I bought 2 books and was disappointed to see that the nutritional breakdown for each recipe is not included.
Francheska KsenzarskiI just bought Keto for the Holidays book. Where can I locate the calories and carbs for the recipes. None are listed next to each recipe. This is a deal breaker for me. If I can’t get this information I am sending this back and get my money back.
knowotny@verizon.netHi Carrie! I just yesterday stumbled onto your cookbooks and website. Just made the sheet pan cheesesteak recipe! It was great (even though I had to make a couple of substitutions). Hubby and I both loved it!
I was going to order your Keto Ice Cream cookbook. However, I noticed that most of your recipes call for using Xylitol. As we have six small dogs in our household, I don’t keep xylitol in my kitchen due to it being deadly to dogs with no antidote. I’m afraid if any a little got spilled, one of the fur kids might lick it up. (Messy cook here, lol!) So, will the ice cream recipes work pretty well with erythritol and/or monk fruit? Those are my go to sweeteners, as well as some stevia. Or, I’m open to other suggestions! Thanks in advance!
GayleWhere can I ask you a question about a recipe ?
RobertaHello Carrie, I am currently going through Cancer and a lot of the recipes you provide have dairy, eggs etc. in your recipes and I am unable to eat these foods. Do you have any recipes that do not have these foods in them? Thank you!
The 16 Best Keto Cookbooks Of 2022 To Cook With Confidence[…] Keto Cookbooks by Carrie Brown – Carrie Brown […]
Tanya ShawHi Carrie
I purchased and just received , keto for the holidays and the keto ice cream scoopBut on none of the recipes has the nutritional information..carbs , fat ect.Where would this information be available ?
LynneHi Carrie, I used unsweetened hazelnut butter to make your fabulous hazelnut ice cream – I got smoother results than when I used my blender. Have you tried this? Also I am substituting Allulose plus some organic Stevia as I can’t tolerate Xylitol.
JaugerHi Carrie! Wondering if your Keto membership is a flat rate membership or monthly. I am looking for an affordable guide to stay healthy and consistent with my goals. Thanks!
LizI’ve owned the ice cream book for quite some time but never made the lemon pop before today. Not sure if it was my lemons or what, but the lemon flavor is pretty subtle with the batch I made (and I doubled the juice knowing I would like more) what do you think would be the best approach to a stronger lemon flavor? Steeping the zest longer? Increasing the juice, or adding some lemon extract? I don’t want to mess up the creaminess. (PS my favorite are the chocolate ice creams – I just love them!)